How to use Order Eraser on Magento 2
STEP 1: Install the Order Eraser extension
To install the Order Eraser extension in your Magento 2 back office, you need to:
- Before installing the extension, it's advisable to backup your Magento 2 installation.
- Then, you need to refresh caches in:
SystemToolsCache Management - Now, you can download the zipped extension from:
your Wyomind accountLICENSES & DOWNLOADS - Once you have downloaded it, unzip the folder content.
- Copy the app folder and paste it into the Magento 2 root directory. You can merge the directories.
- Open a console and run the following command on the Magento 2 root directory:
bin/magento setup:upgrade - Once your installation is complete, don't forget to clear the cache and log in again.
If you are working on Magento 2.0.x, you'll have to rename:
Wyomind\OrderEraser\view\adminhtml\ui_component\sales_order_grid_Mage_2.0.xml
Into:
Wyomind\OrderEraser\view\adminhtml\ui_component\sales_order_grid.xml
STEP 2: Use the Order Eraser extension
With Order Eraser for Magento 2, you can clean your sales database in one go. The extension will automatically delete:
- the orders you've selected
- the linked invoices
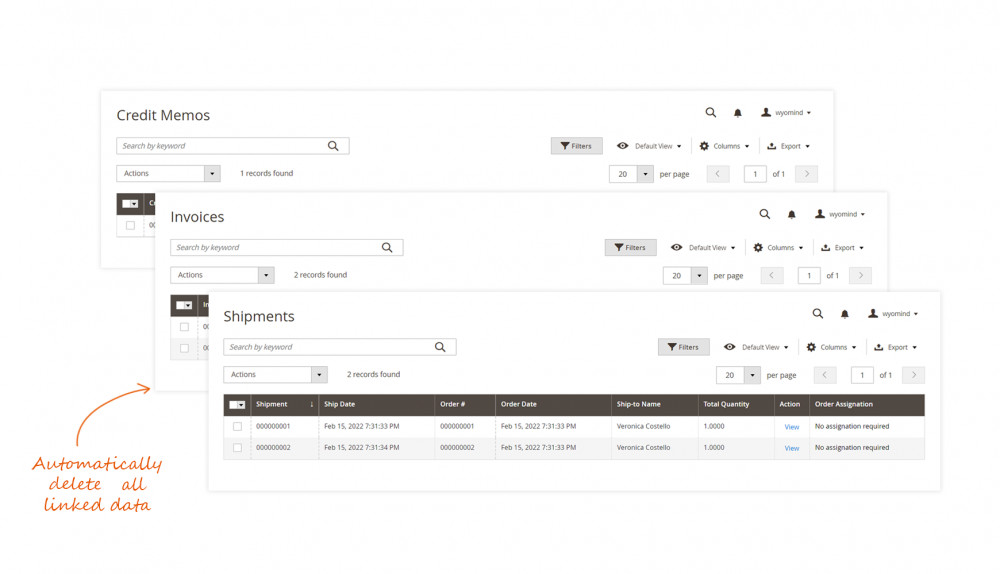
- all linked data
The extension can be ready to use from your Magento 2 back-office in a few minutes only.
After having installed the extension, go to:
SalesOperationsOrders
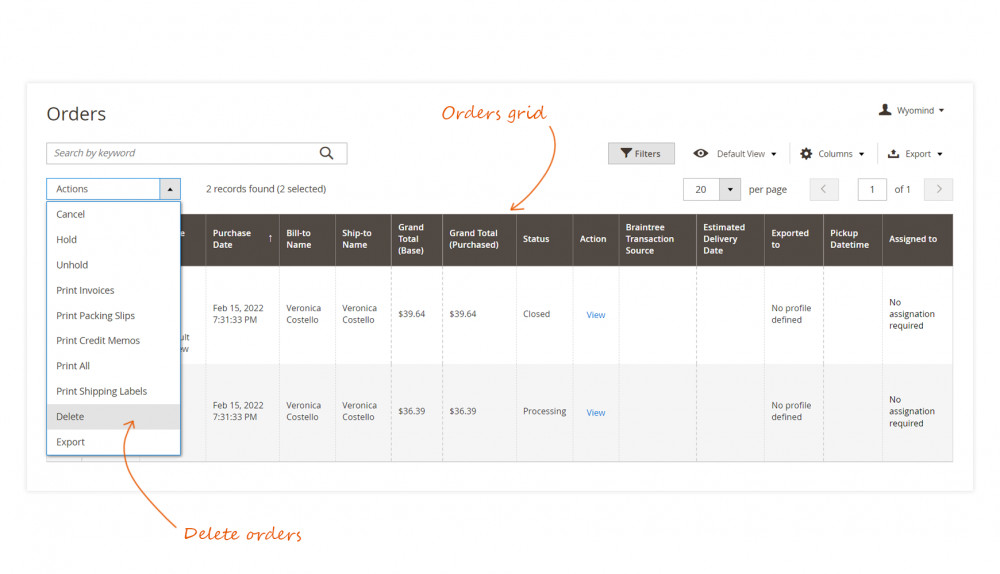
There you have many possibilities to delete your orders.
Tick all the orders you want to delete, from the Actions dropdown, choose Delete. A popup is displayed, click on OK.
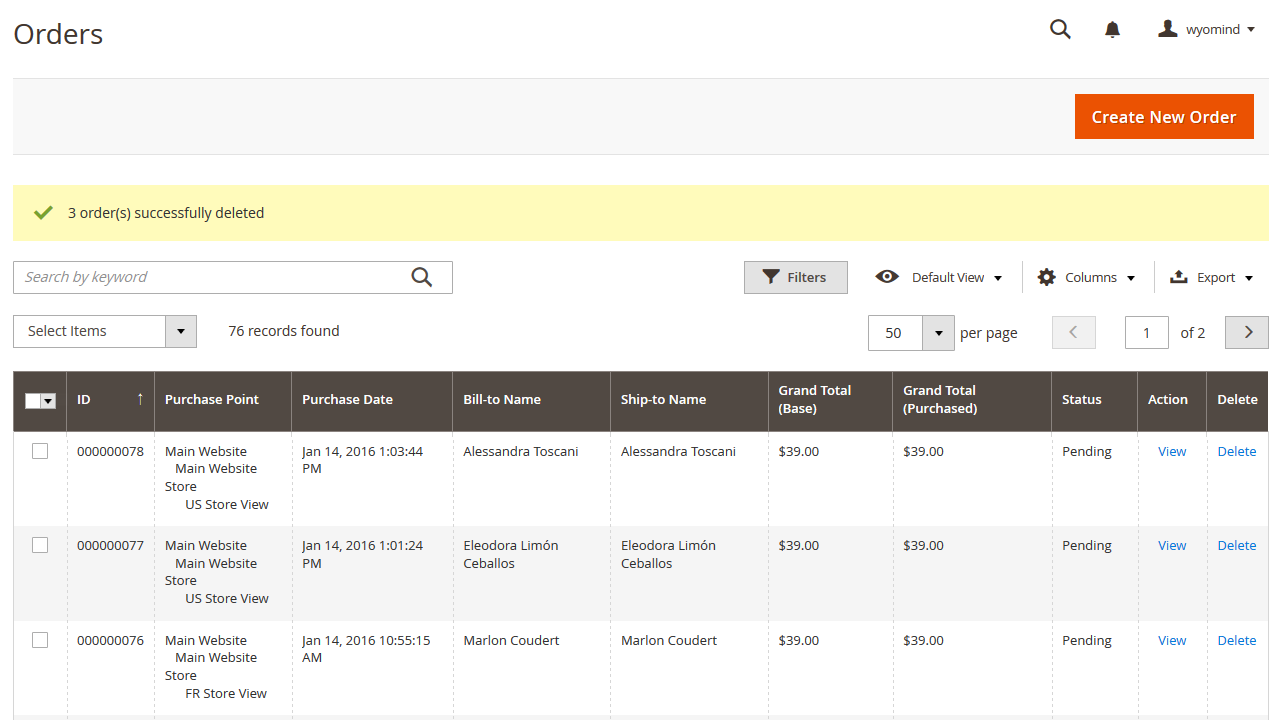
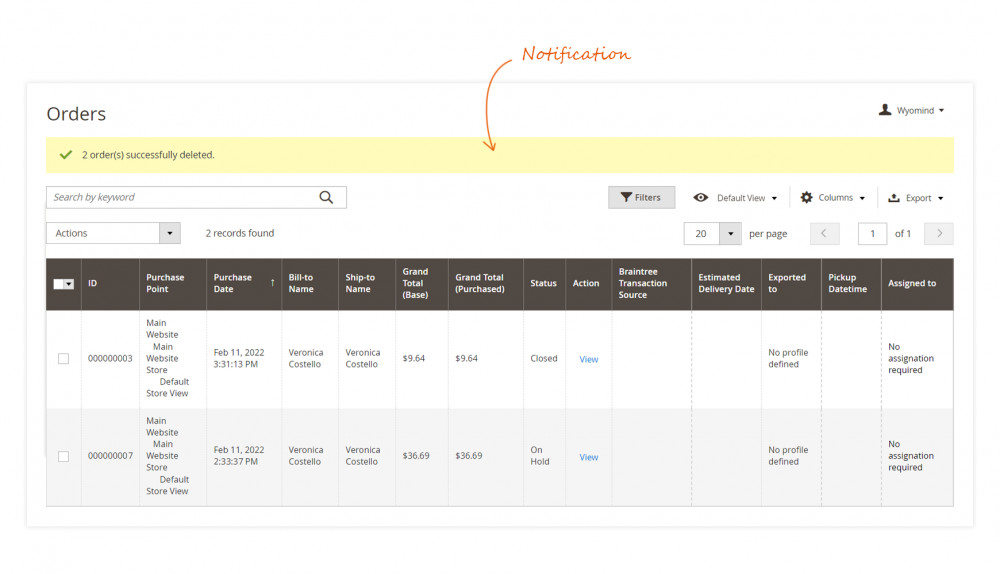
A notification should be displayed at the top of your admin saying that your orders have been deleted from your Magento 2 admin.
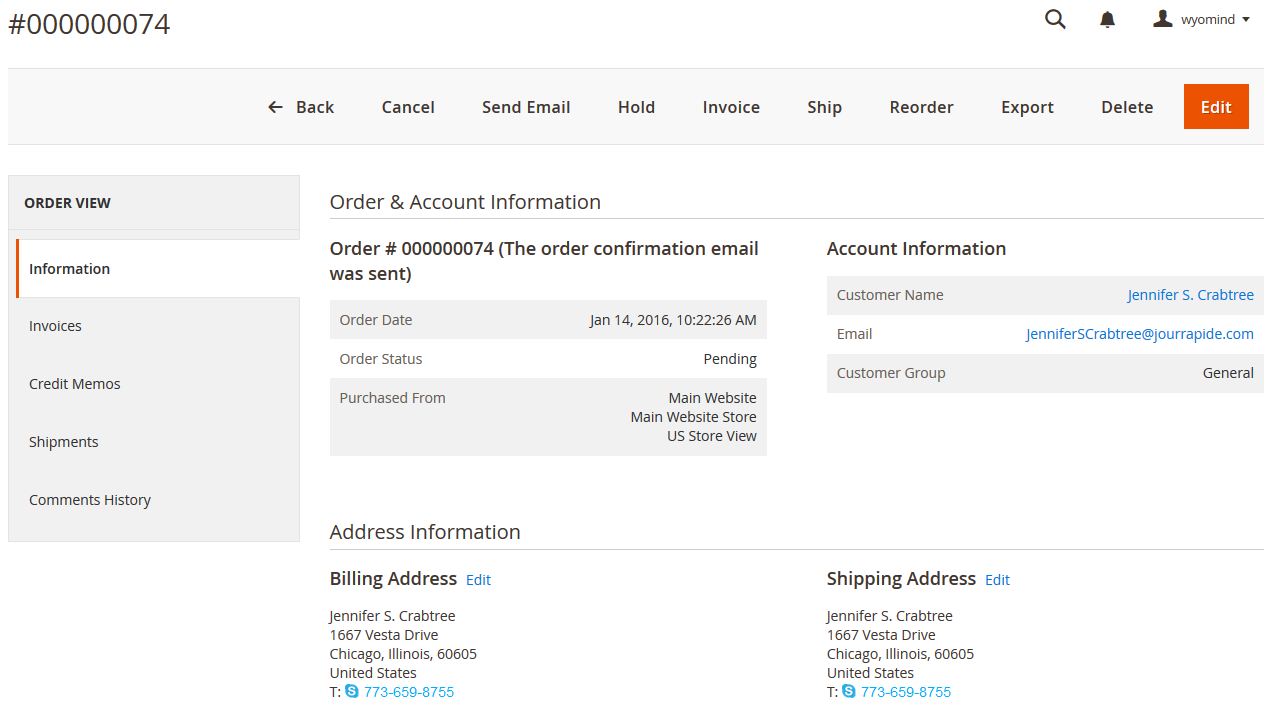
You can also delete one order at a time either by clicking on Delete from the Delete column or by clicking on Delete directly in the order view.
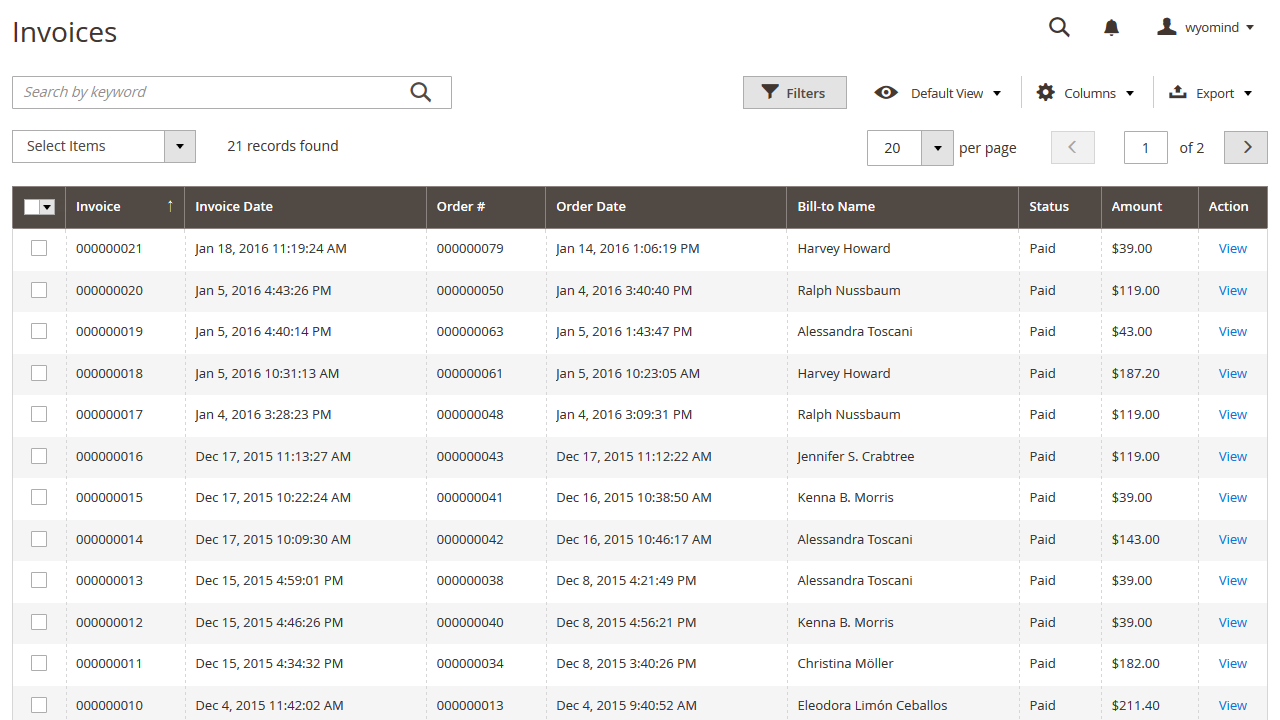
In the case where the order(s) that you have deleted was/were linked to some invoices or credit memos, these latter will also be removed.


 Magento 2









 Very useful extention. I don't understand, why Magento team doesn't use this functionality by default. Order Eraser allows you to simply clean your sales database