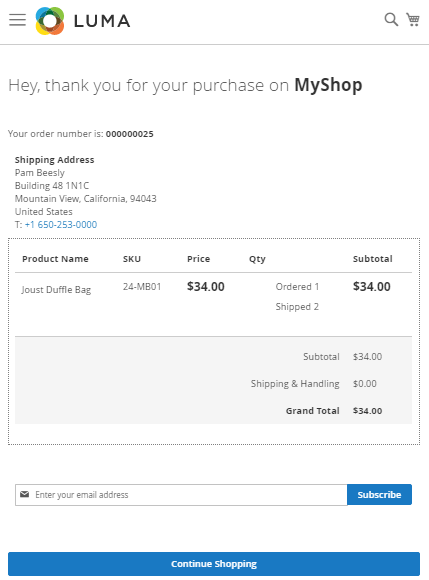
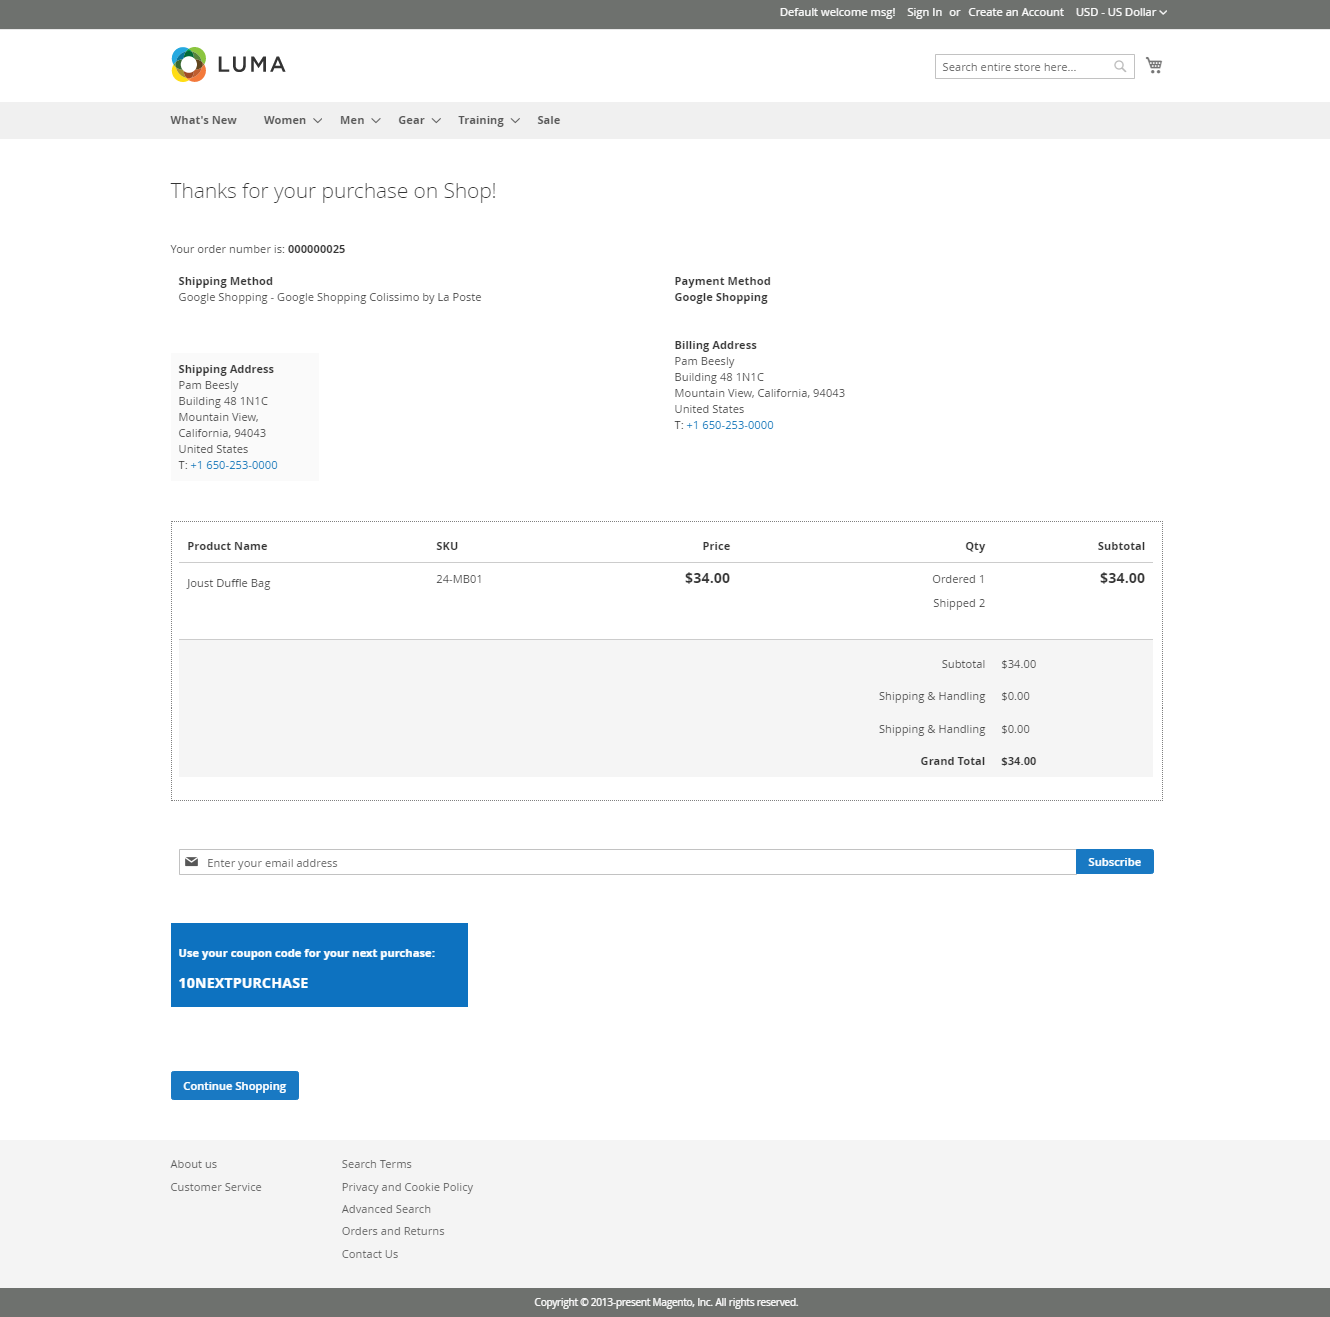
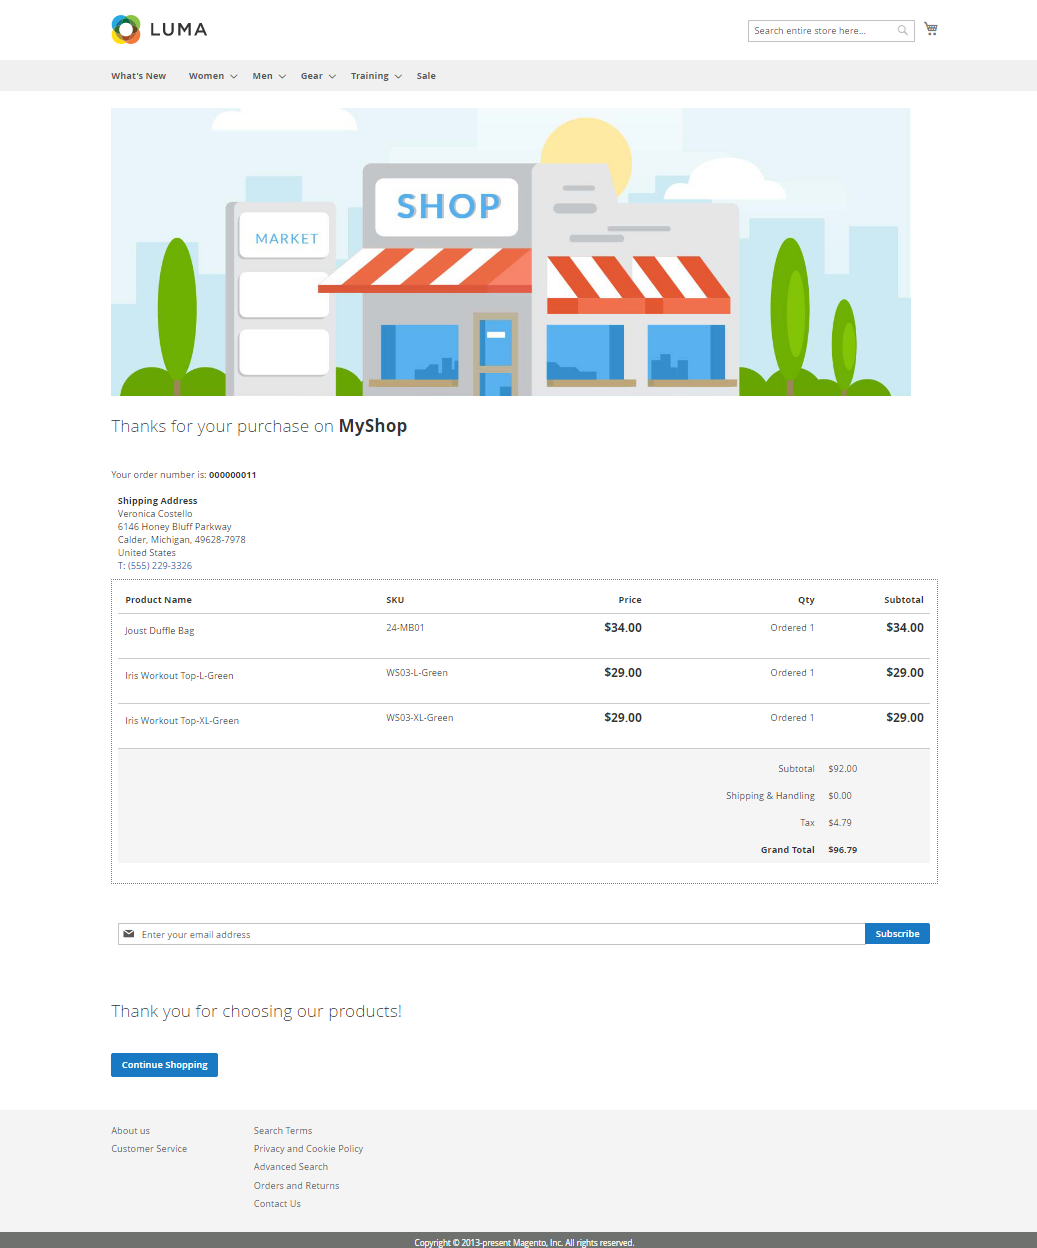
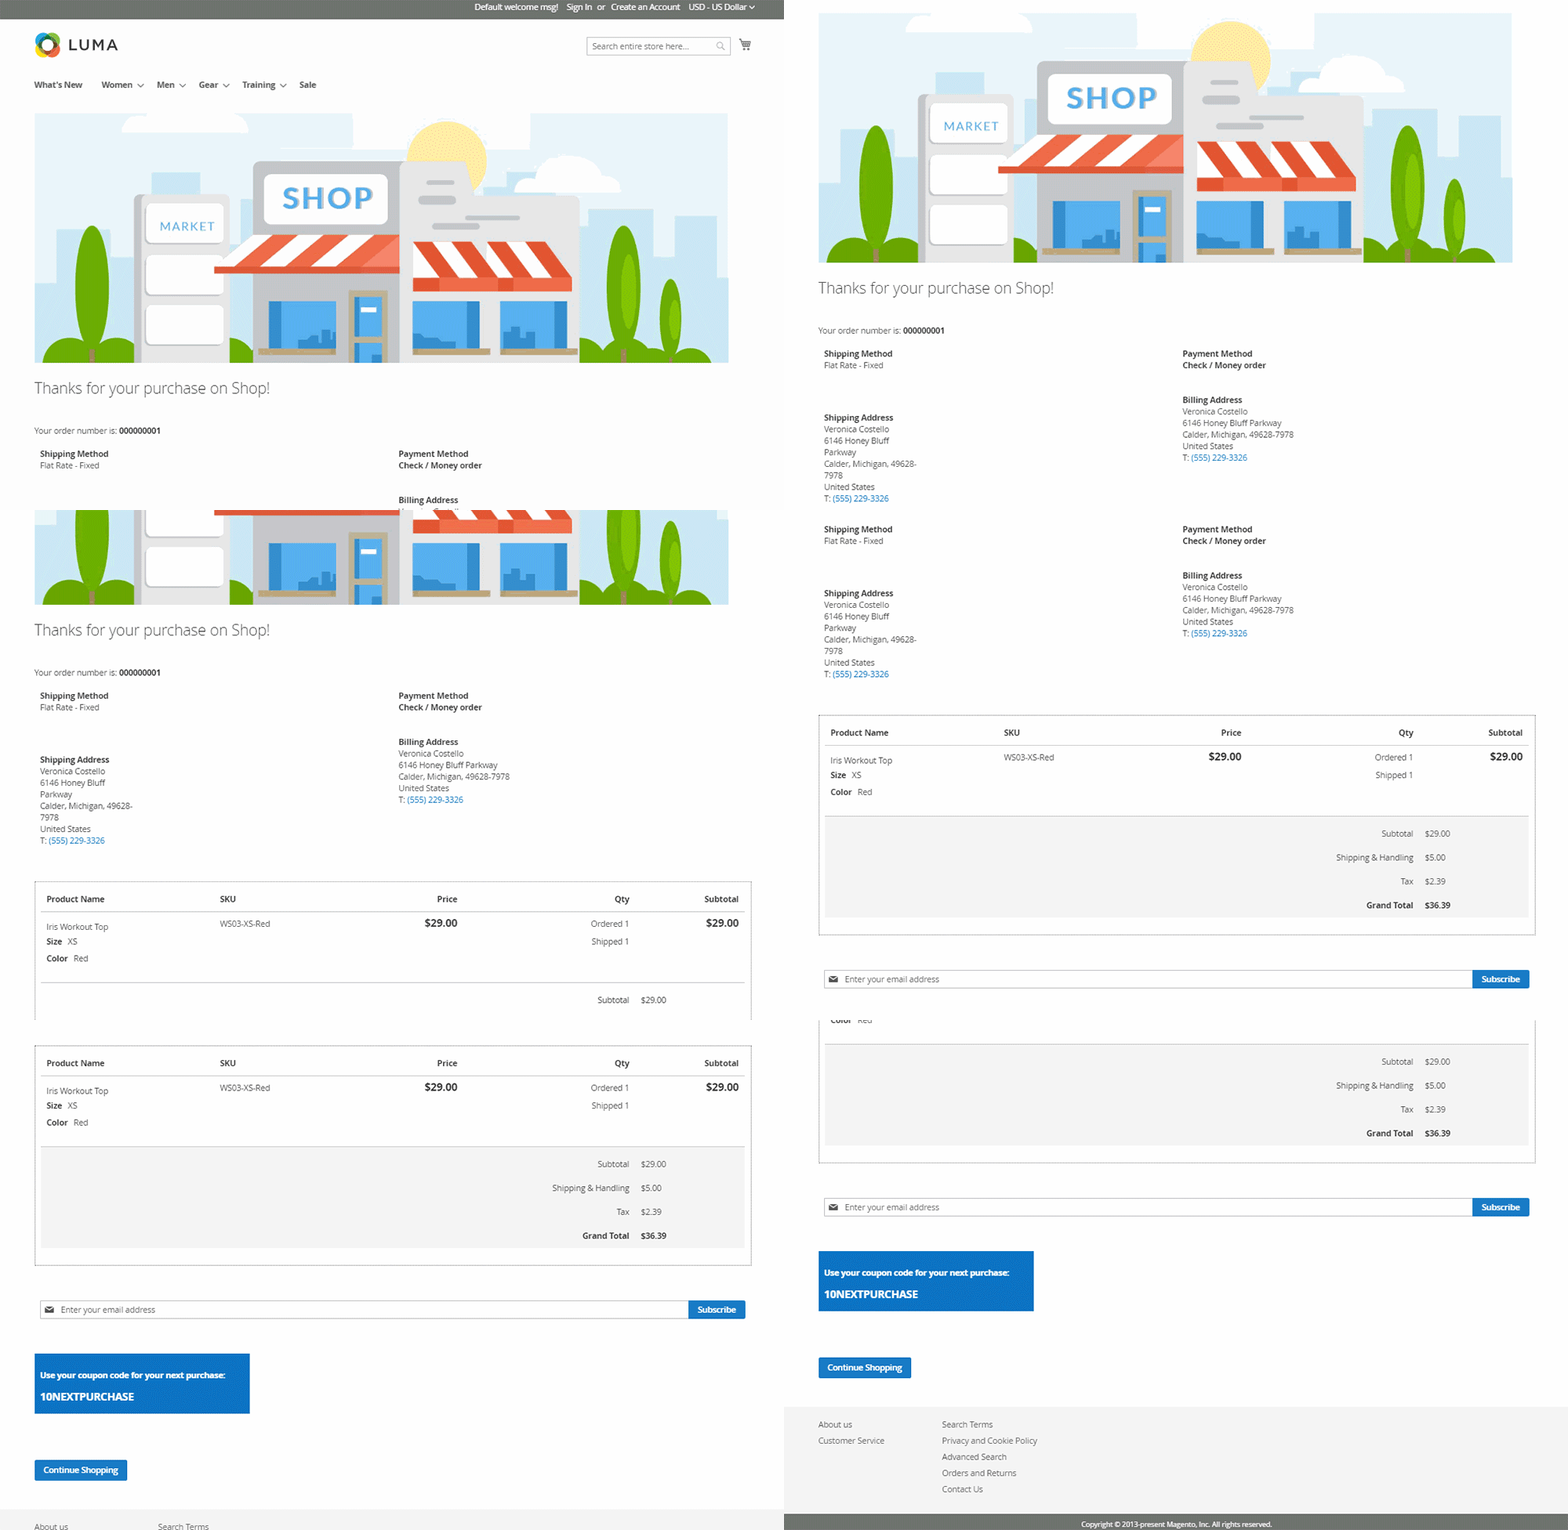
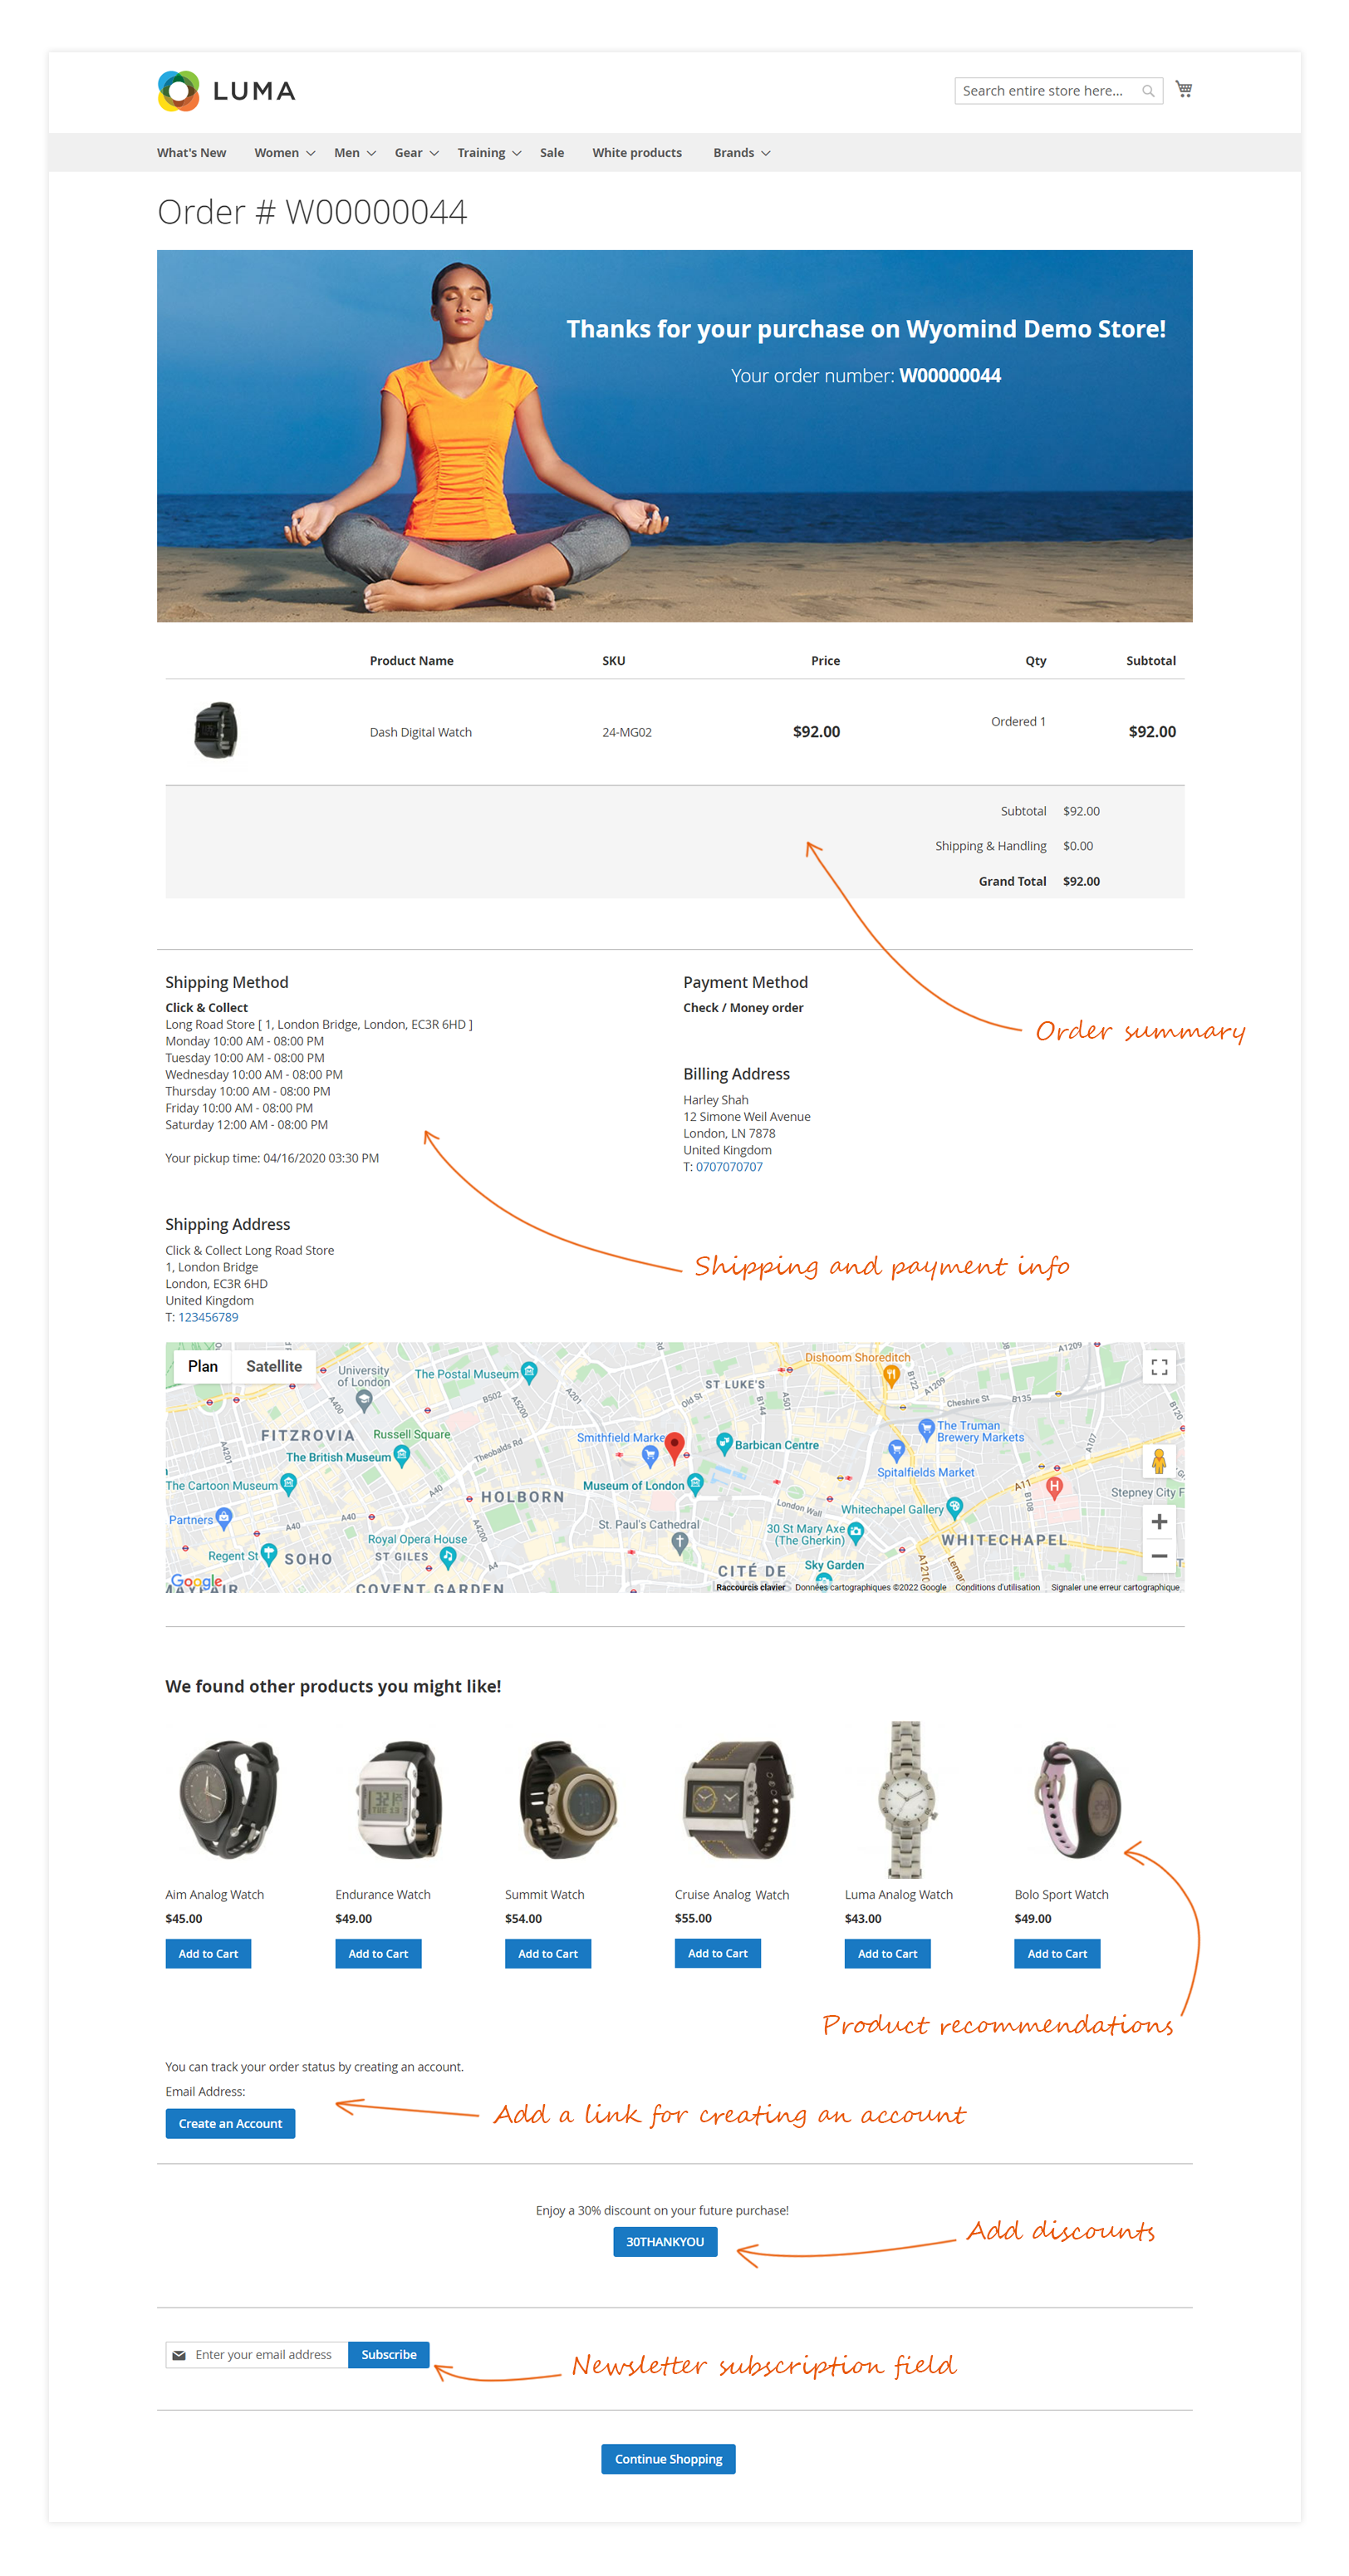
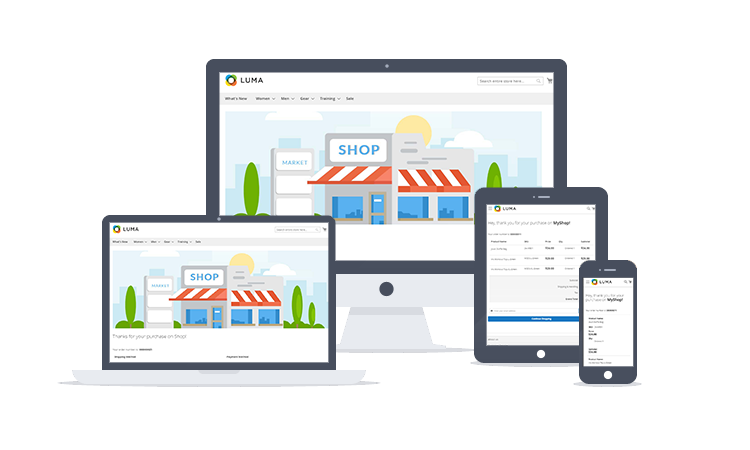
The Improved Success Page extension allows you to fully customize the order success page that displays after customers pass an order. This extension will help you to create a much more attractive page by managing the design as well as the content of the page.
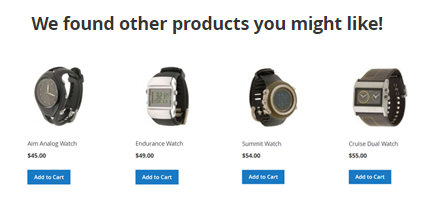
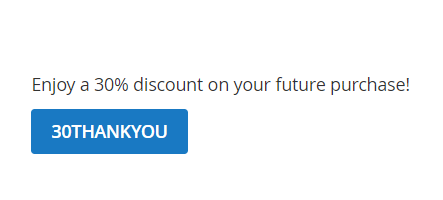
You'll have the possibility to add and display blocks of information about products, customers, shipping and billing, discounts but also cross-sell, up-sells products...
By adding useful information to your order success page, you will considerably improve your customers' shopping experience and make each success page individual.
Terminology
- Widget: It is a snippet of code that makes it possible to display a wide range of content and place it at specific block references in your store.
- Variable: it is a reusable piece of information that can be created once and used in multiple places, such as email templates, blocks, and content pages.
- Block: A block is a modular unit of content that can be positioned almost anywhere on the page. Blocks can be used to display static information such as text, images, and embedded video, as well as dynamic information.
How to use Improved Success Page for Magento 2
STEP 1: Configure the general settings
First of all, you can enable the extension from:
StoresSettingsConfigurationWyomindImproved Success Page
General Settings
In the general settings, you can enable the extension as well as the debugging tools.
Enable the Improved Success Page extension
Enable debugging tools
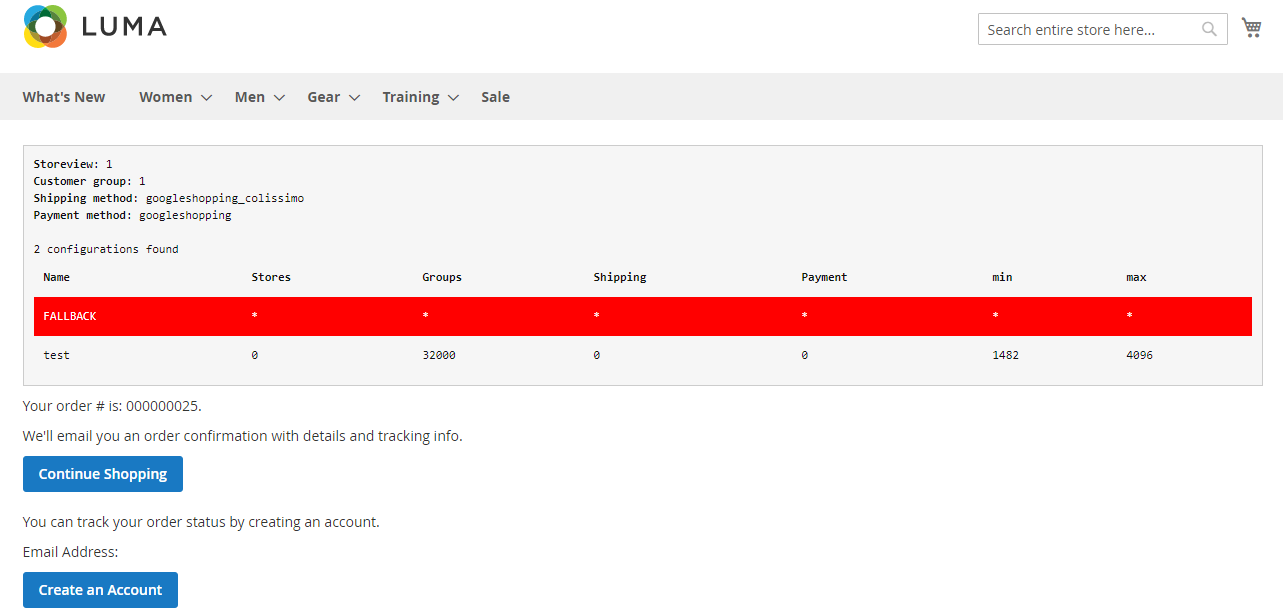
To activate and display debugging information on the order confirmation page, set Enable debugging tools on YES.
A box will appear on your previews and help you to check your pages.
Google Map Settings
Page Title
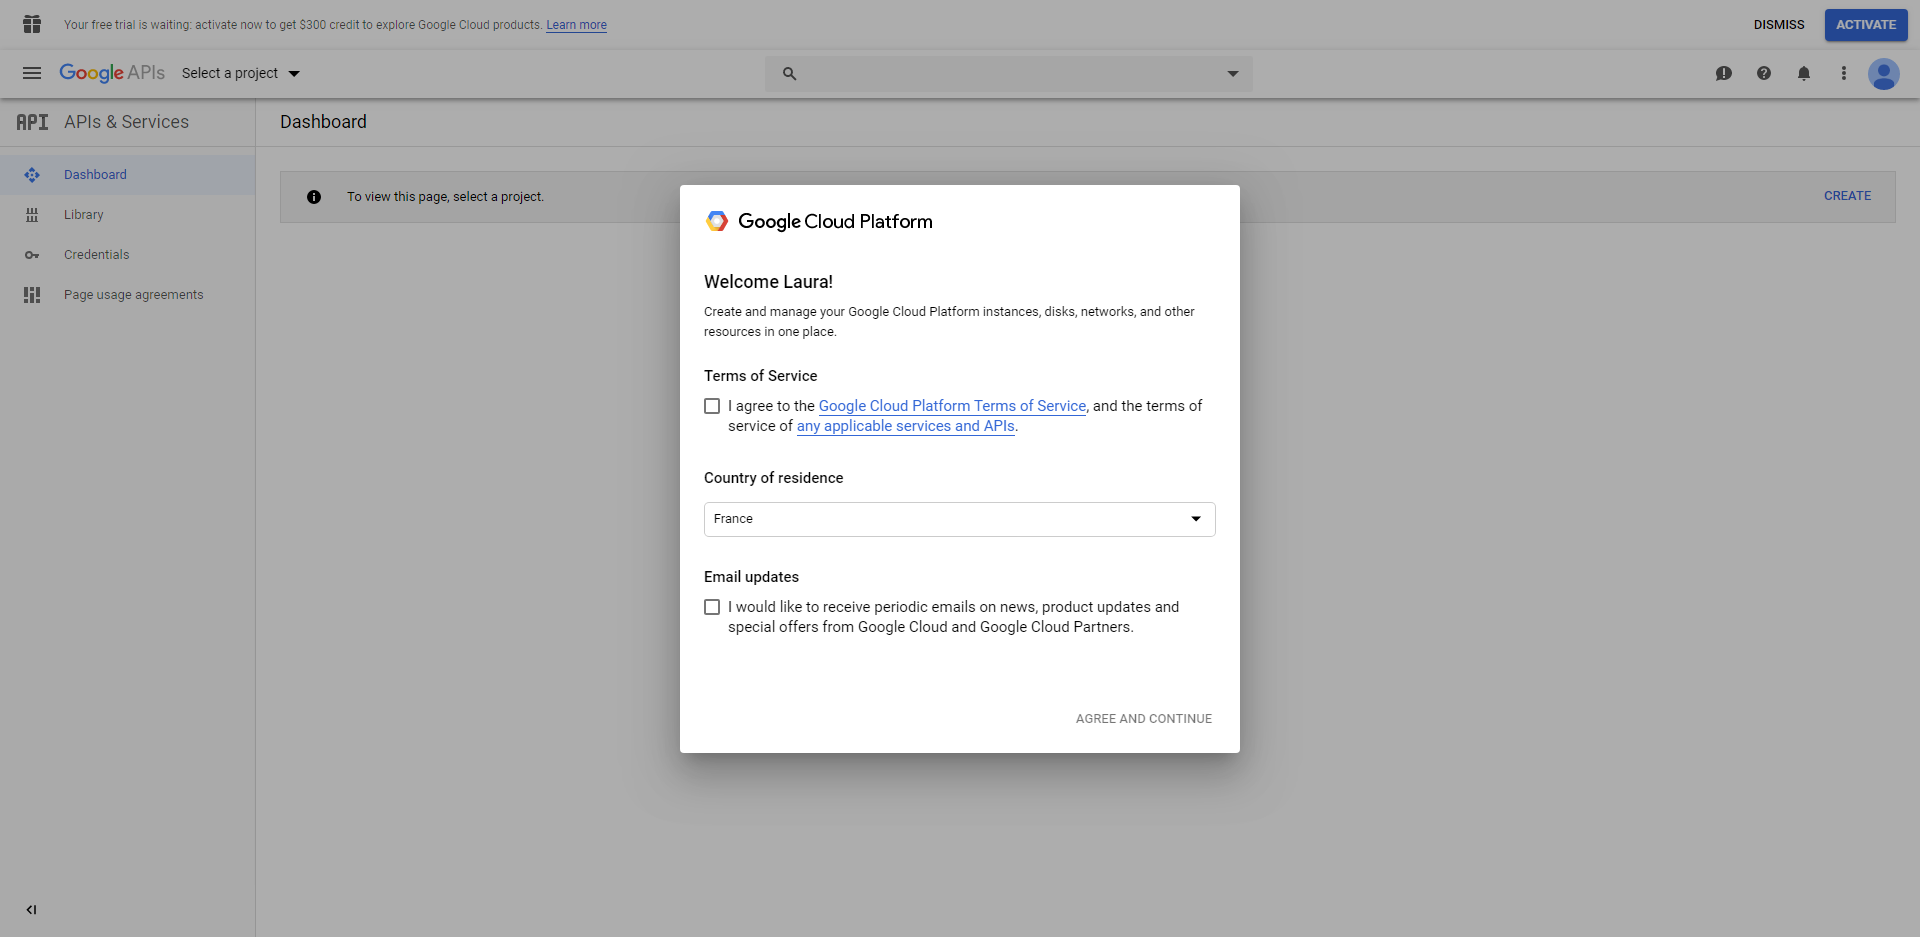
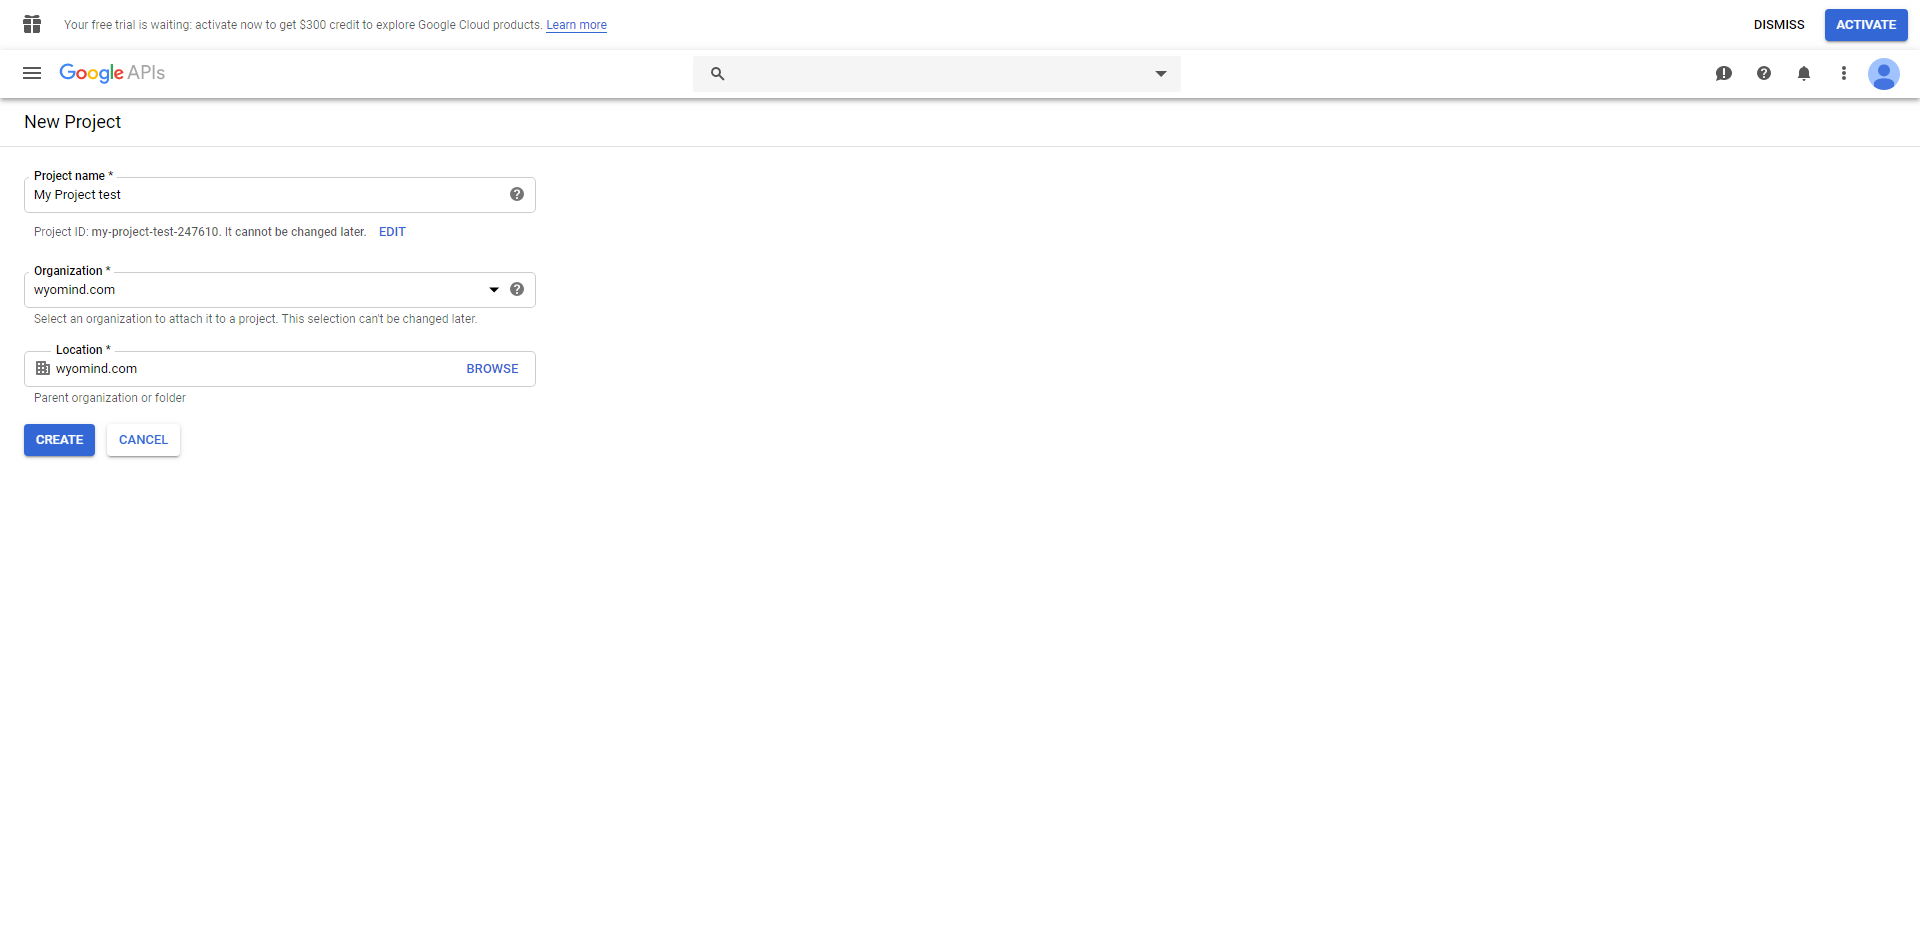
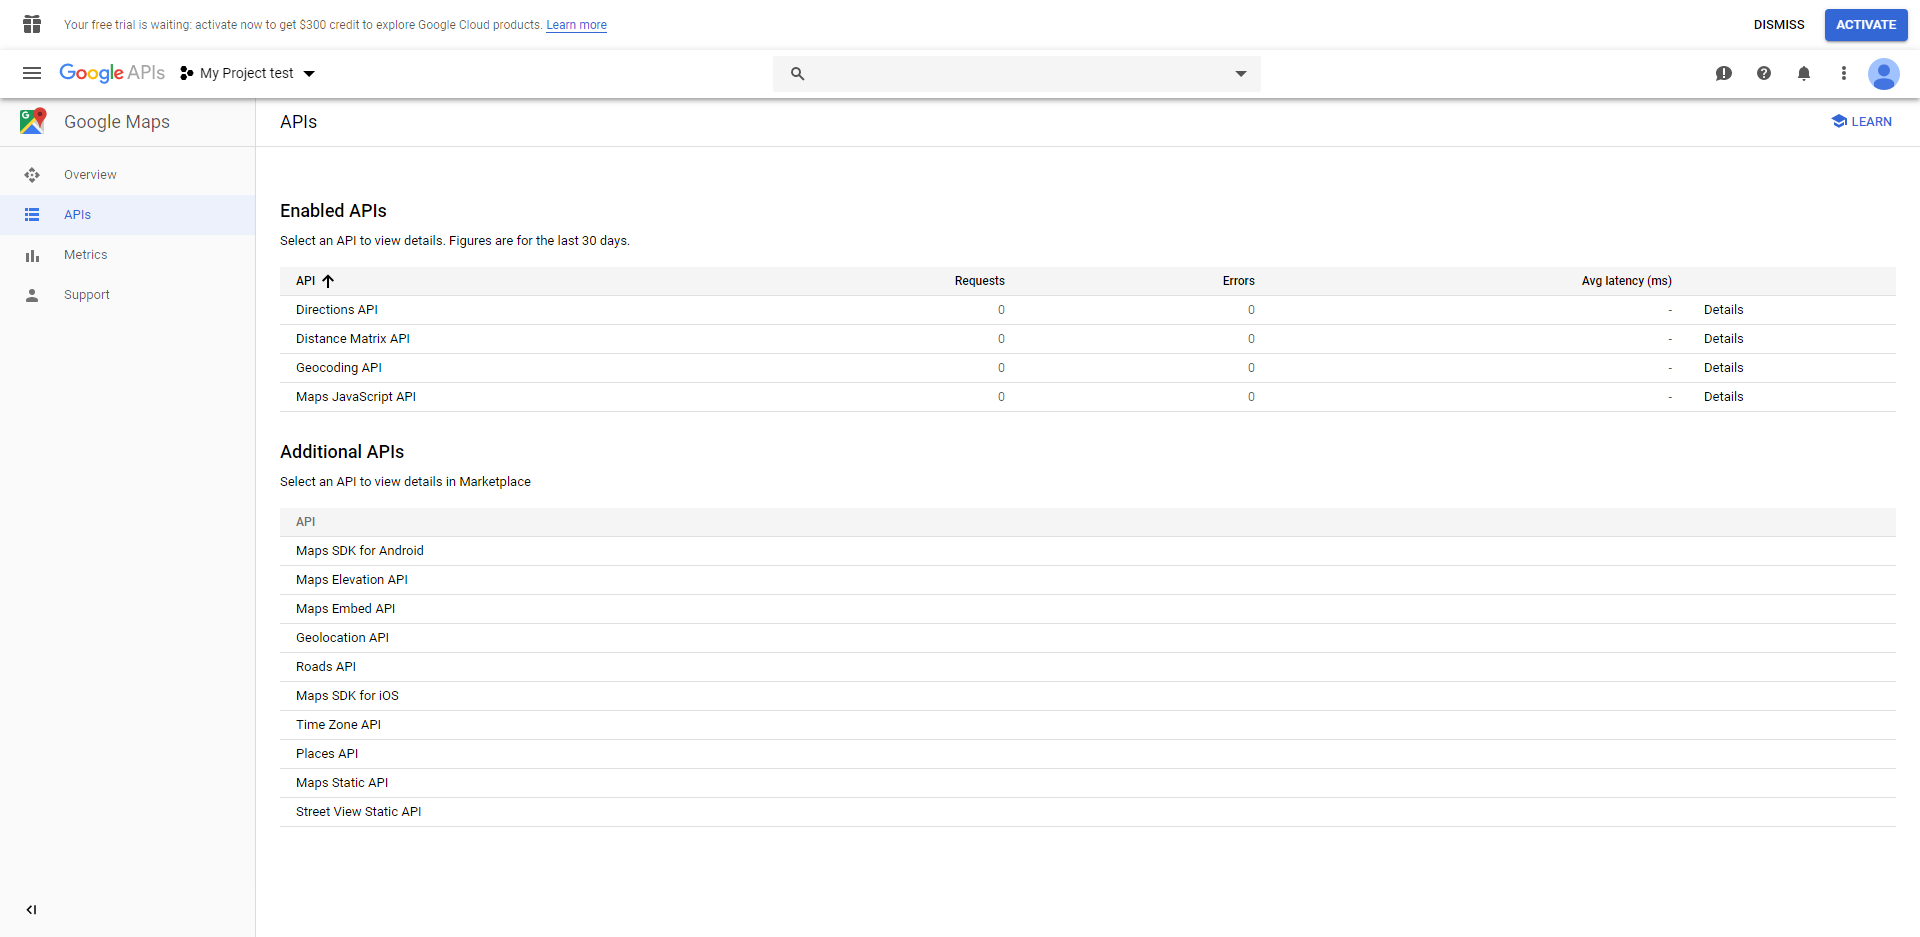
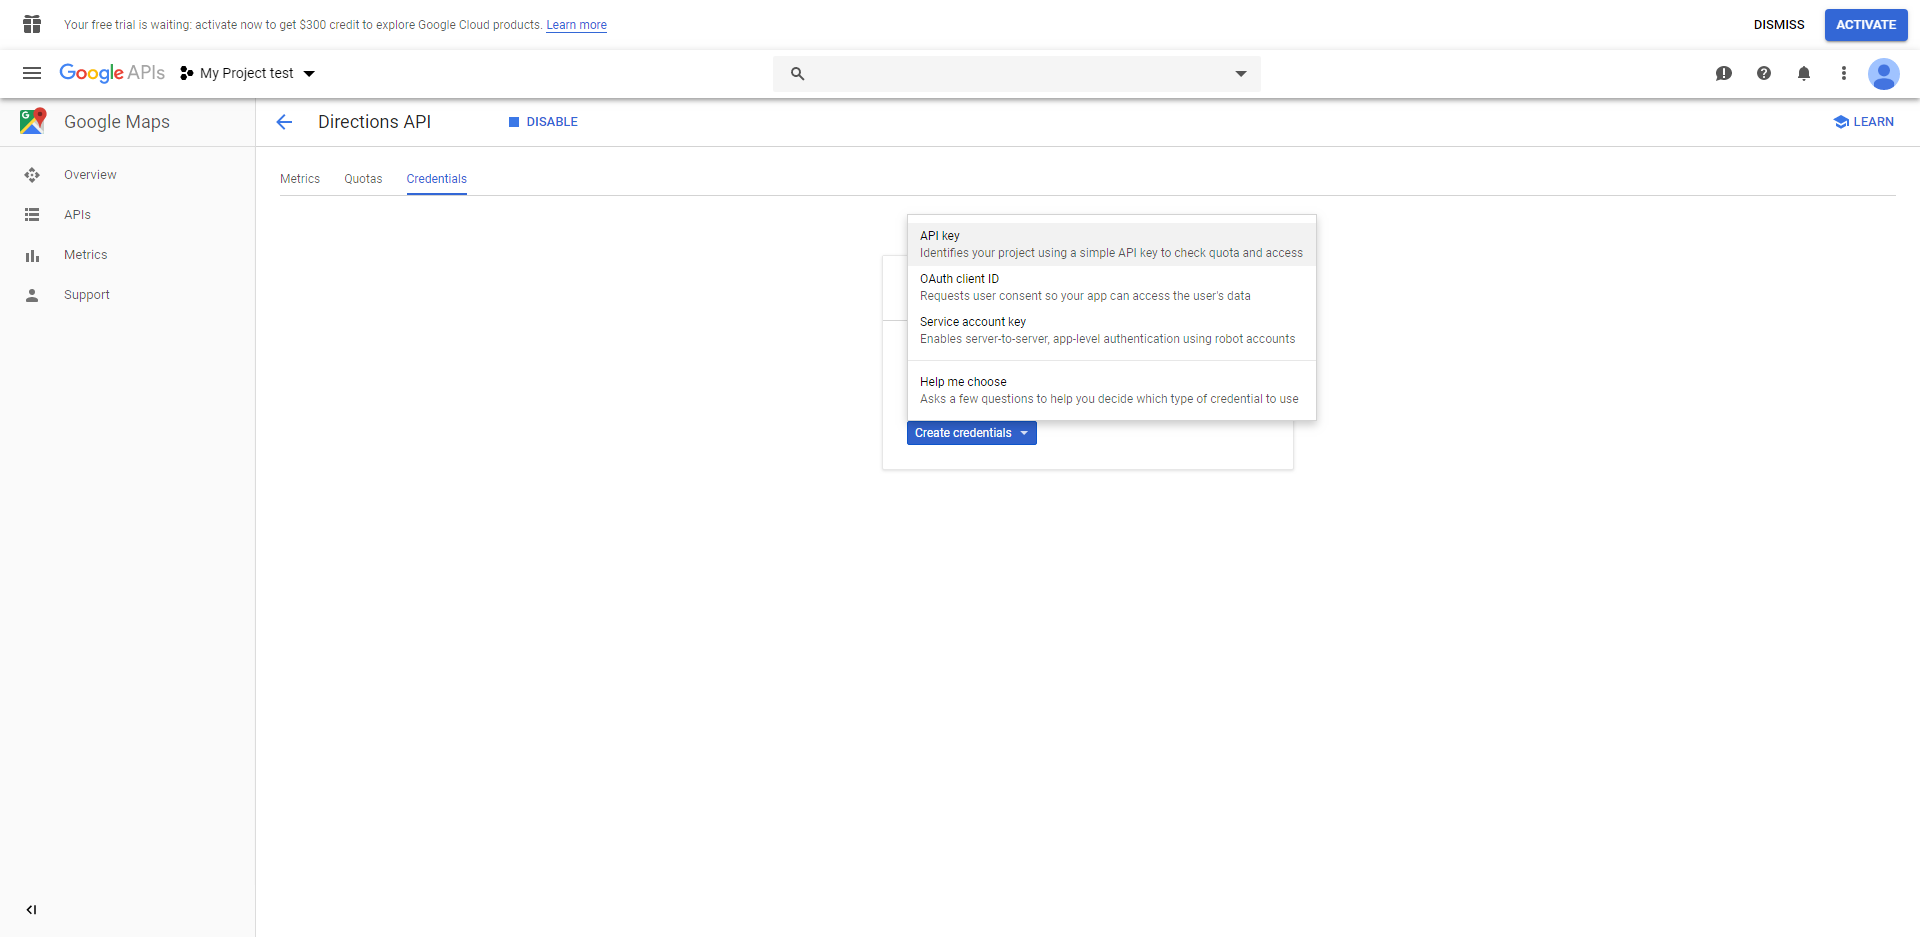
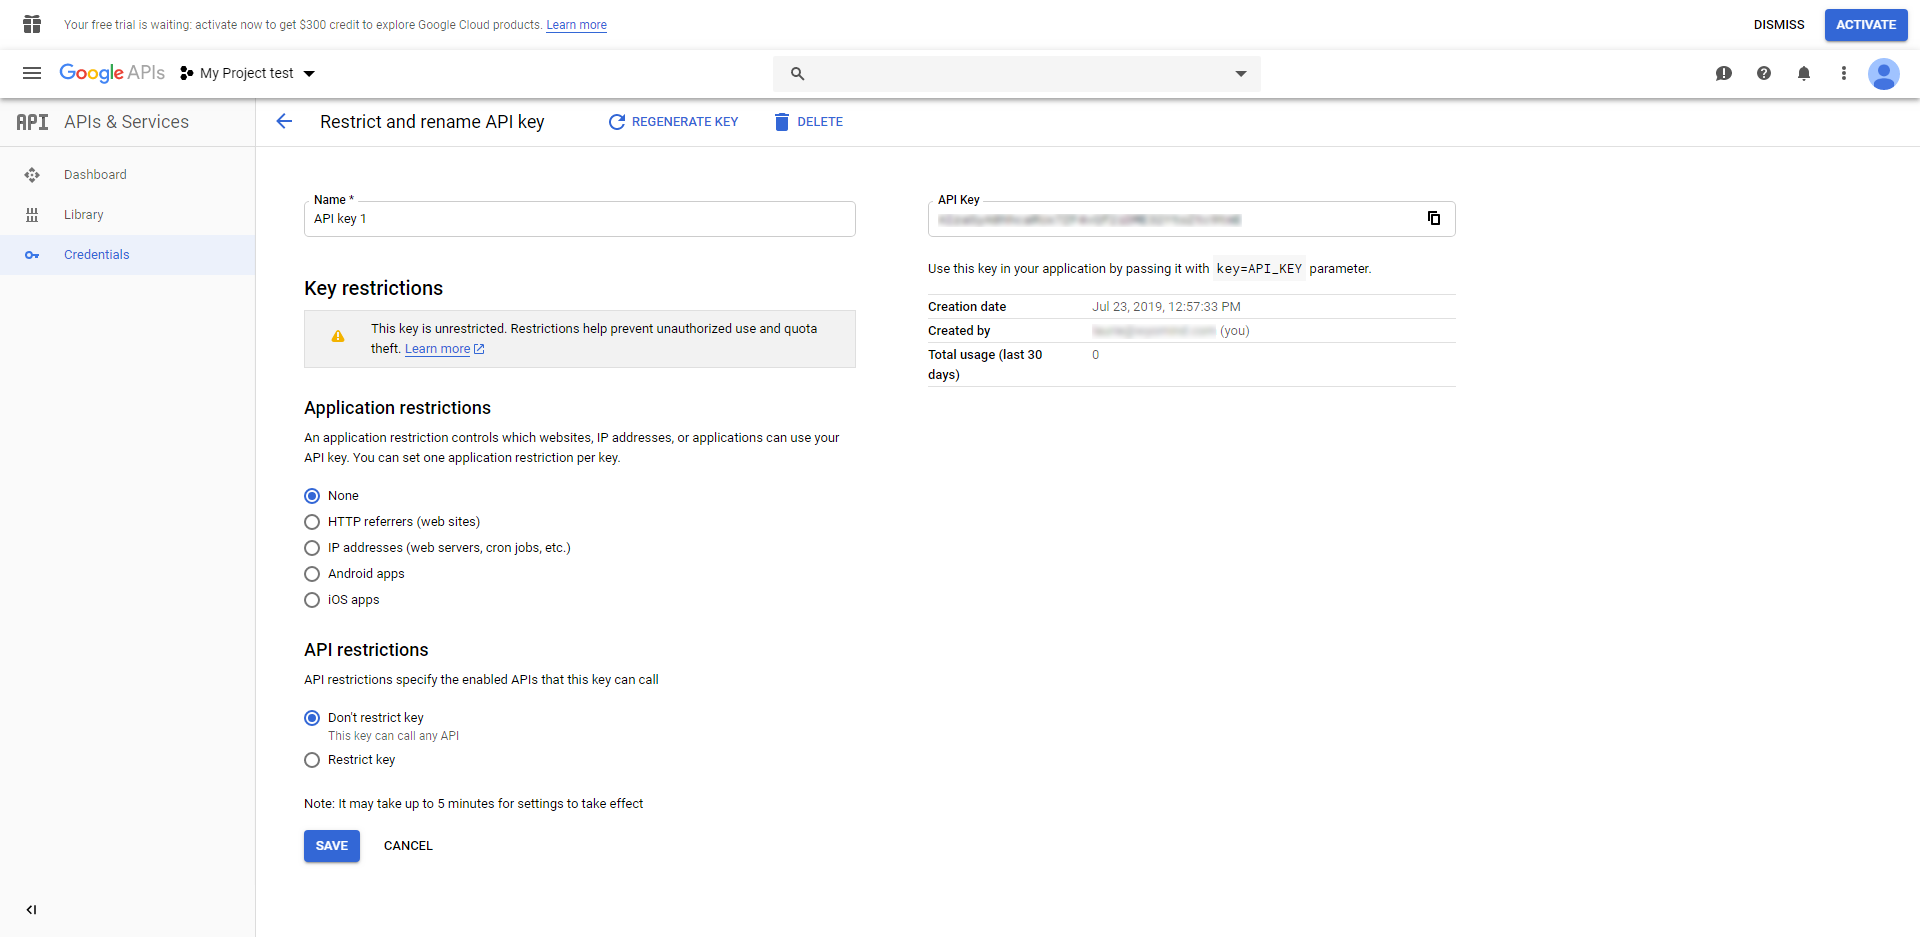
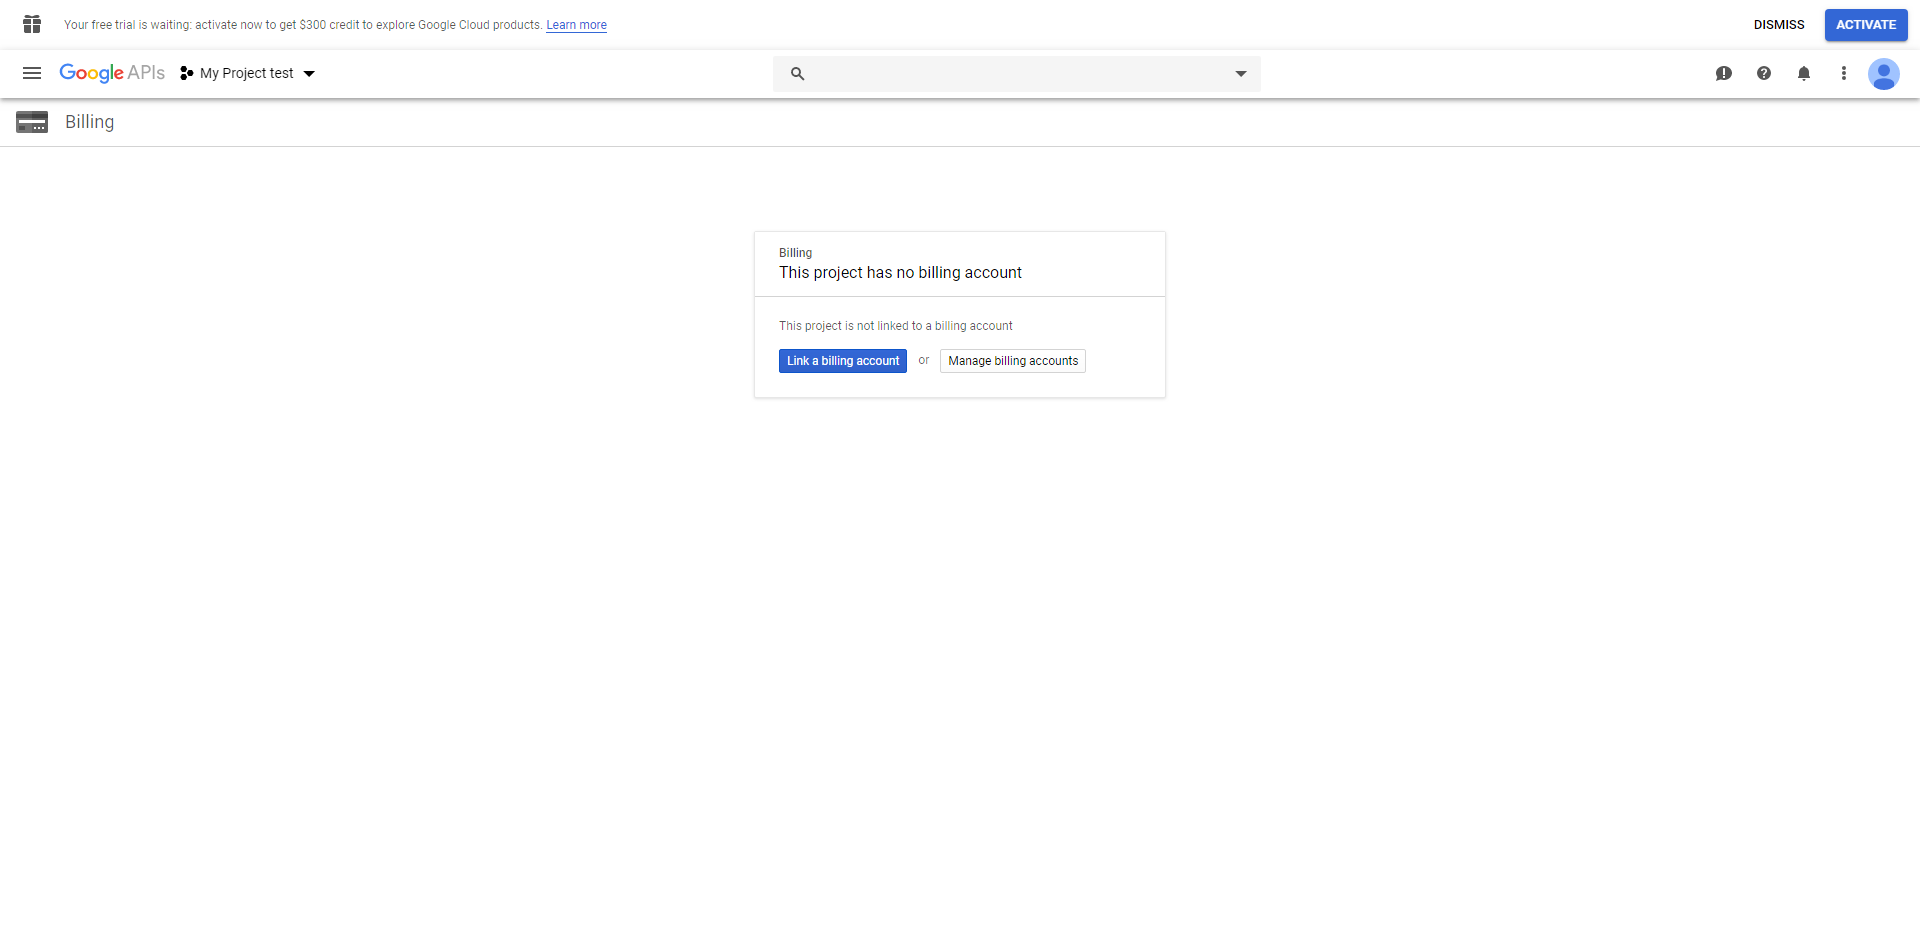
Google API key
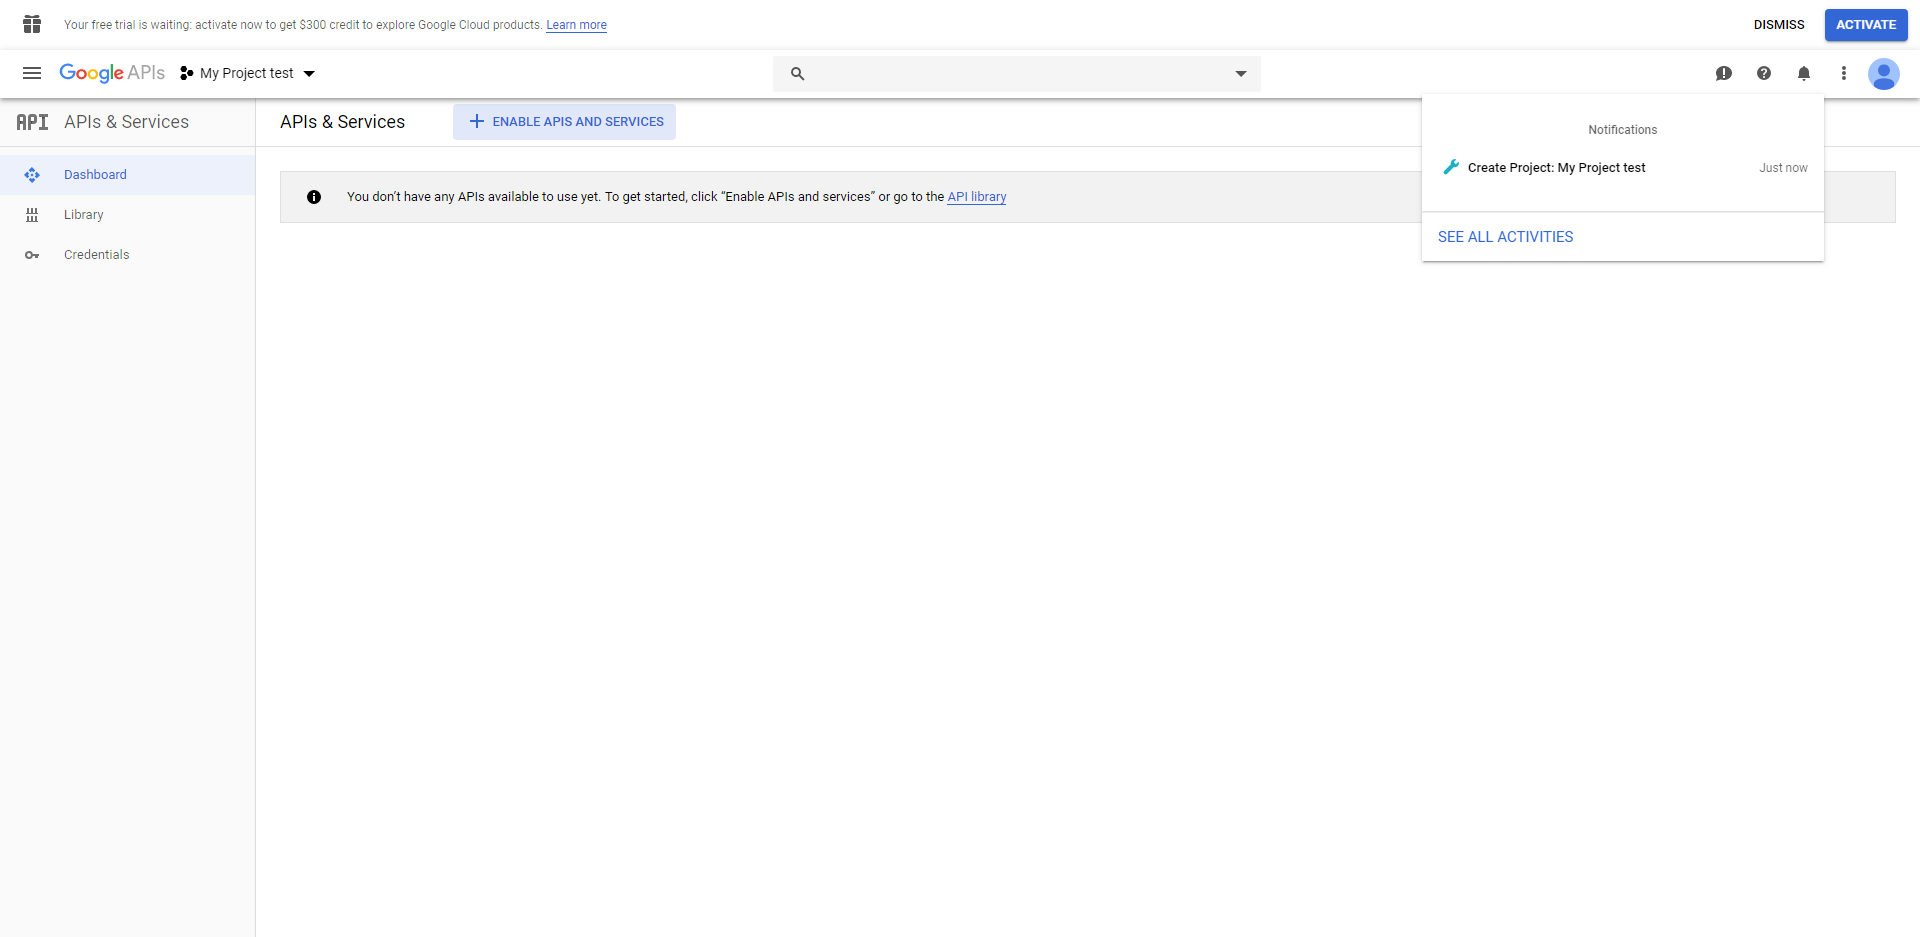
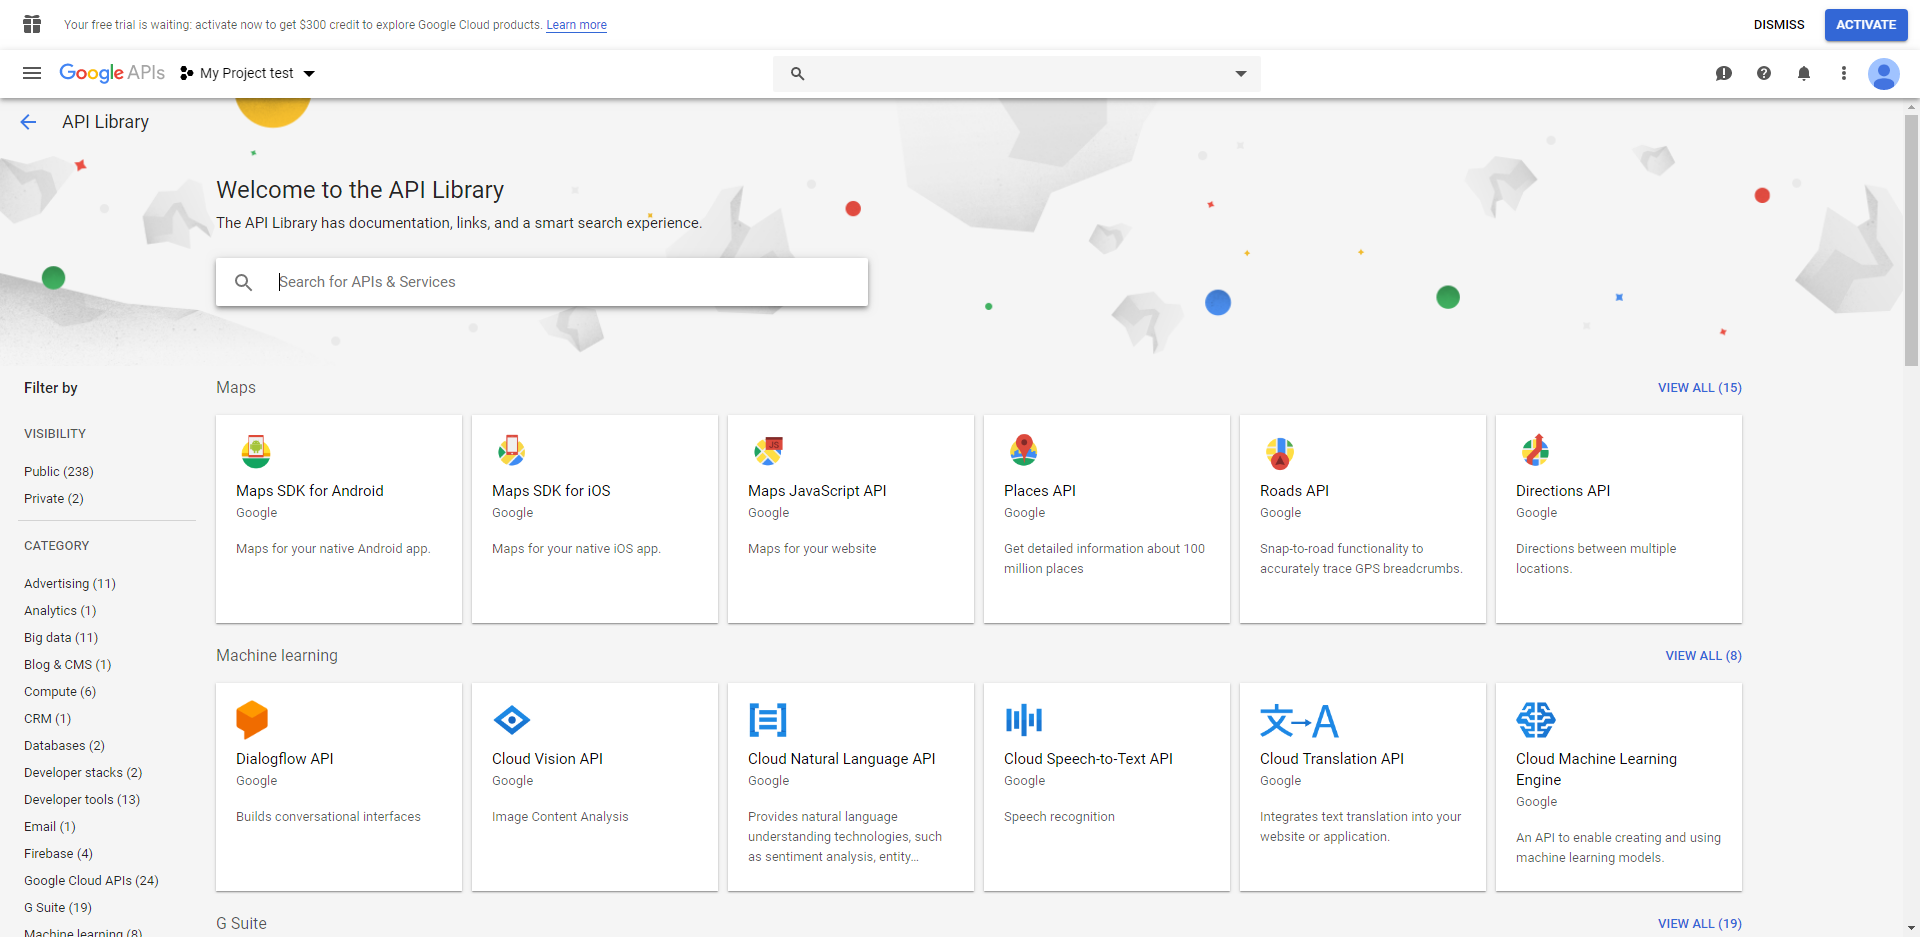
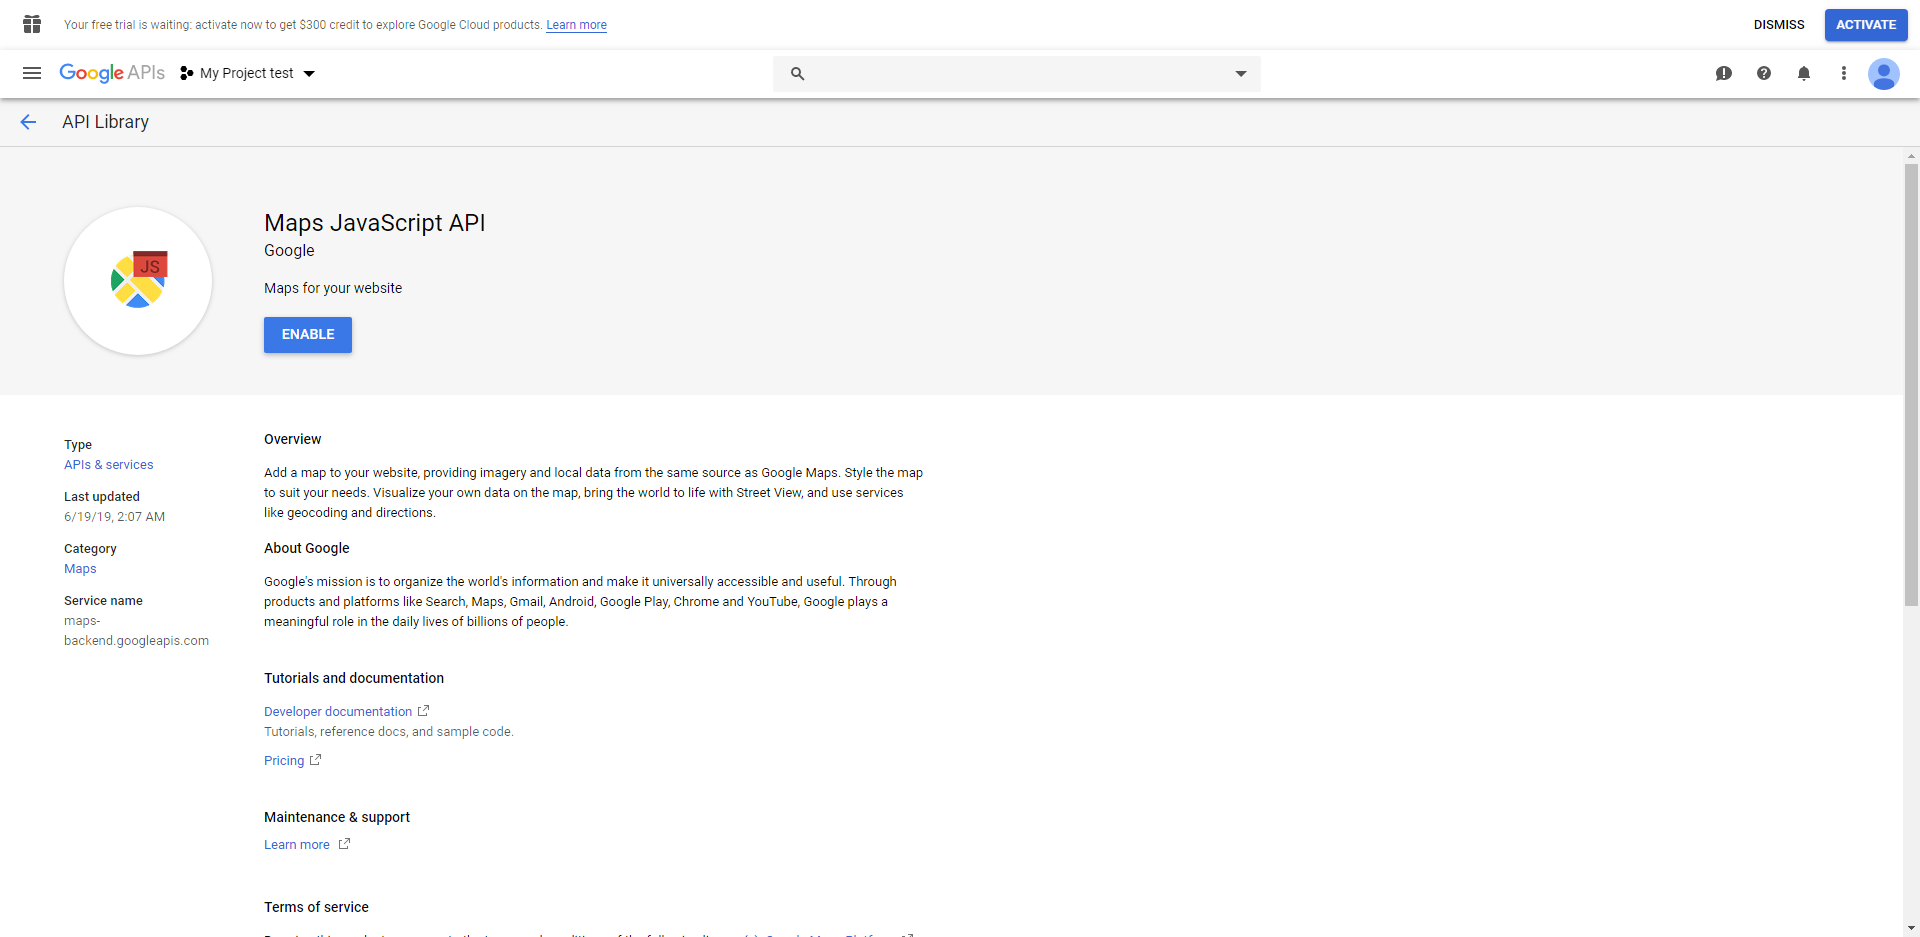
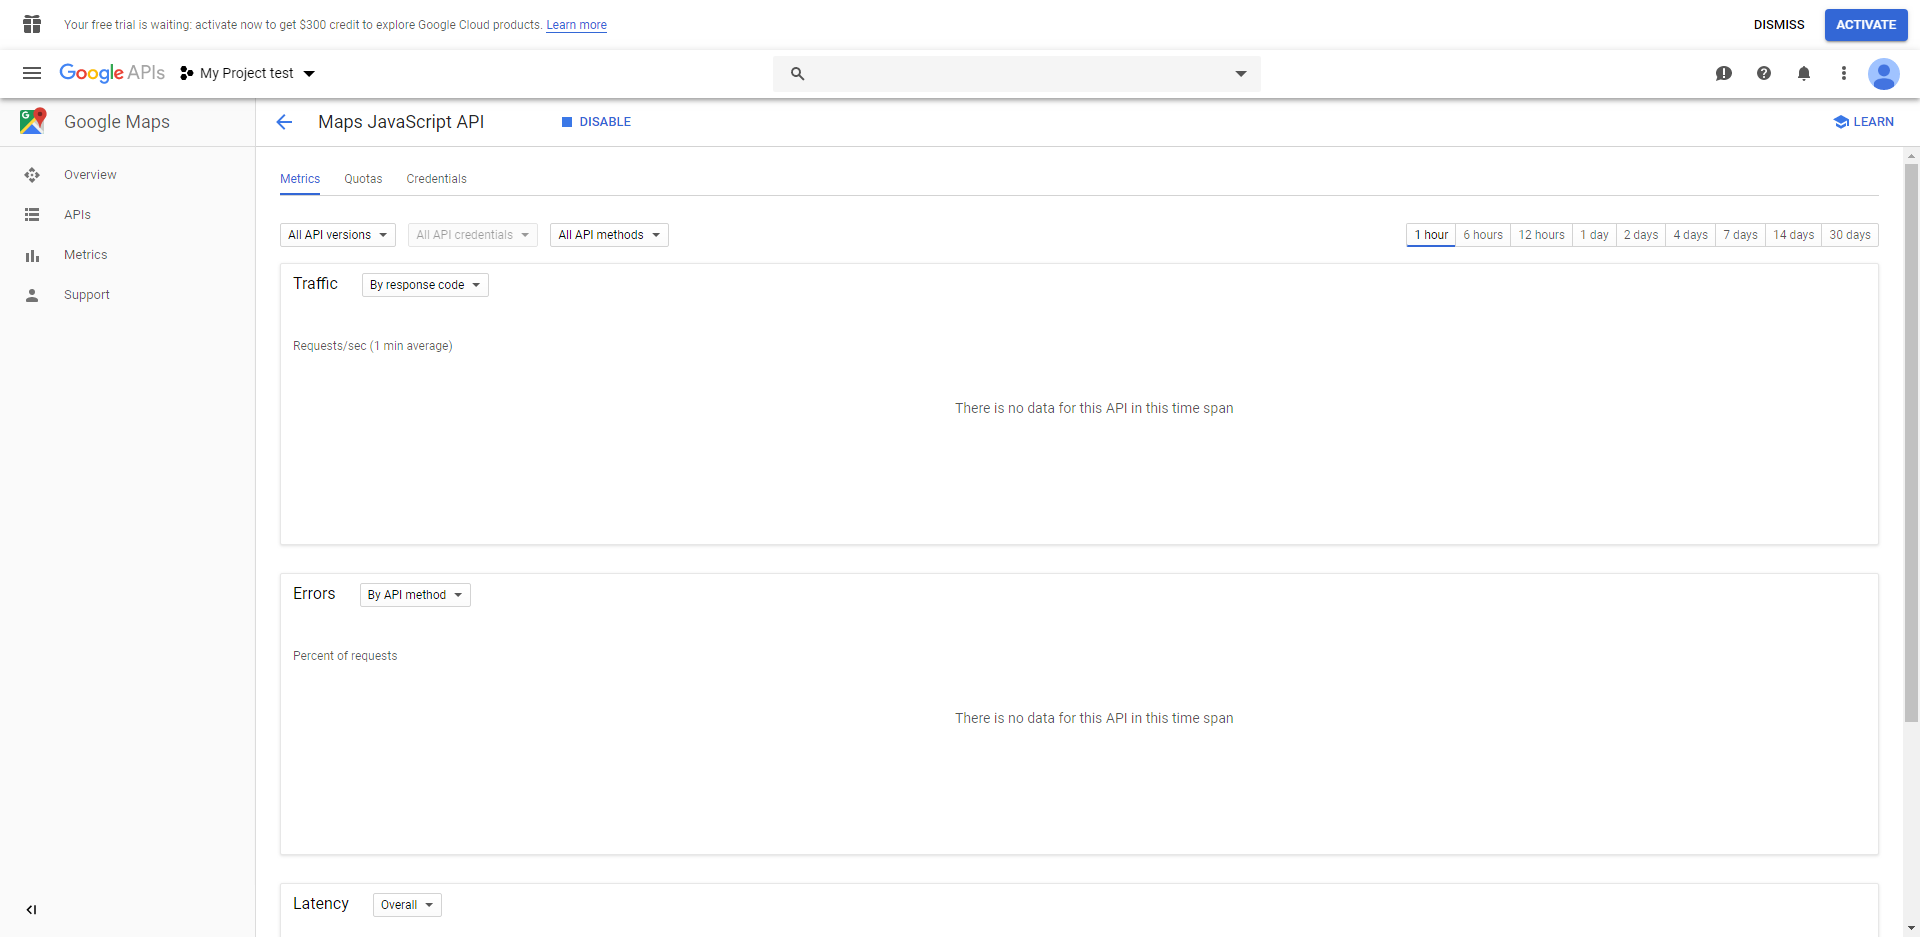
There you will be able to add your API key in the Google API key field.
Indeed, you need an API key to display the shipping and billing address as well as the address of the pick-up location (when using Click & Collect or Pickup@Store) on the Google map.
STEP 2: Configure the order success page
You can create or edit the template of the Improved Success Page from:
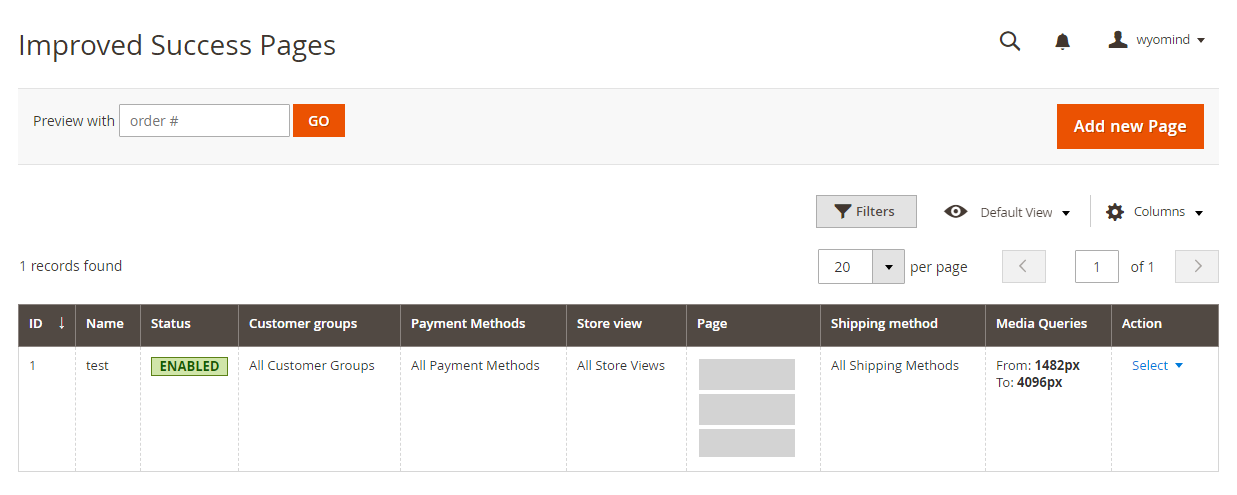
ContentImproved Success PageManage ORder Success Pages
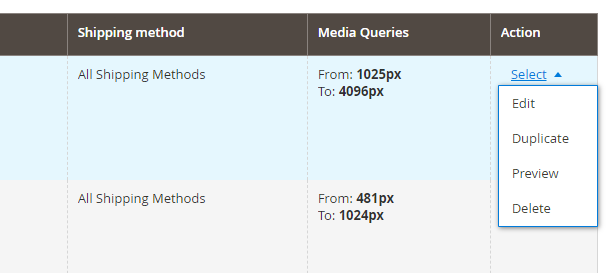
From the Action dropdown, you can:
- Edit a page
- Duplicate a page
- Preview a page
- Delete a page
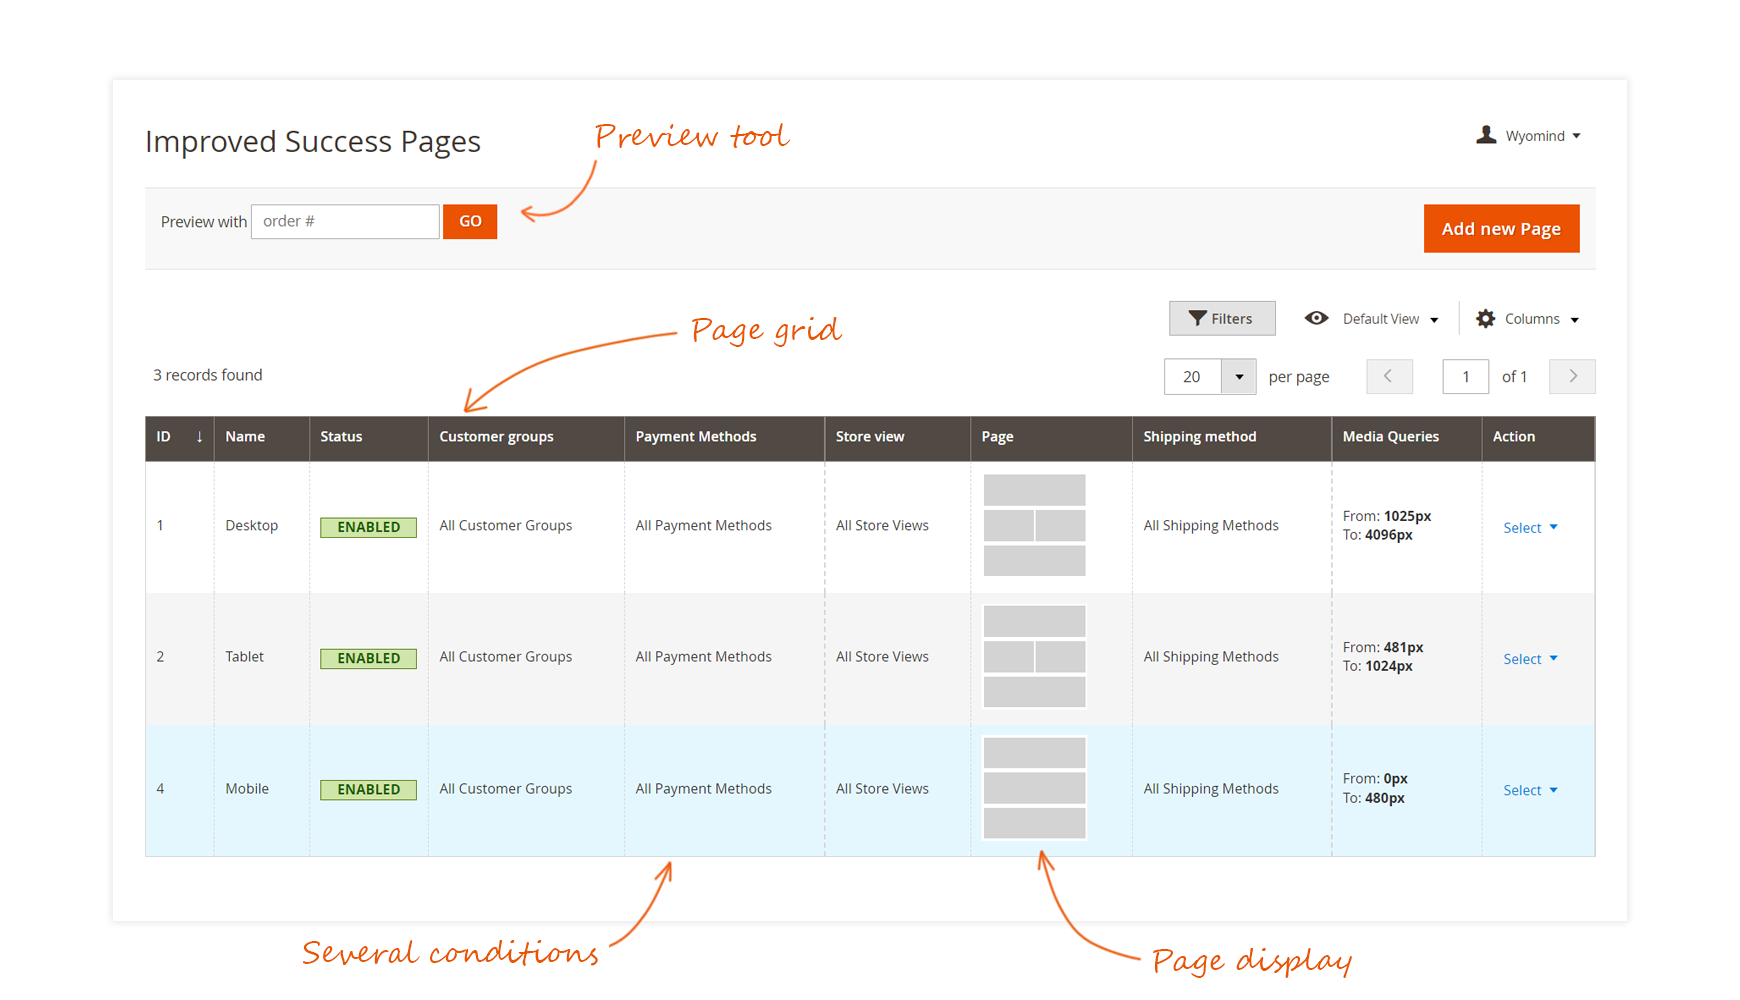
Edit an existing page or create a new one by clicking on Add new Page.
Configure the page
General
In that section, fill in the general information of the success page.
- Name
Give a name to your page.
Base - Enabled
You can easily switch the page to enabled/disabled.
Conditions
Define the conditions of the success page.
- Screen size
Define the width range for which the order success page will be displayed.
This allows you to display specific pages according to the customer's device: desktop, mobile, tablet...
- Storeviews
Select the store view(s) from which the success page will be available.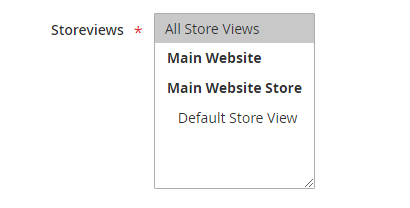
- Payment Methods
Select the payment method(s) that will trigger this success page.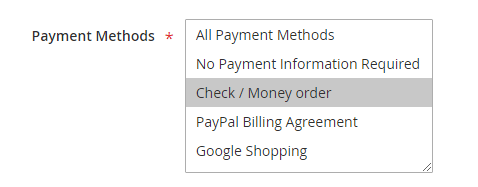
- Shipping Methods
Choose the shipping method(s) that will trigger this success page.
- Customer Groups
Select the customer group(s) from which the success page will be available.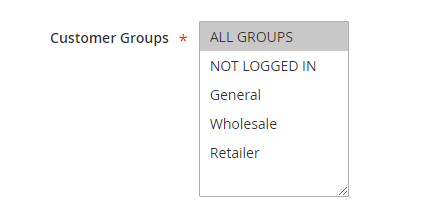
Header
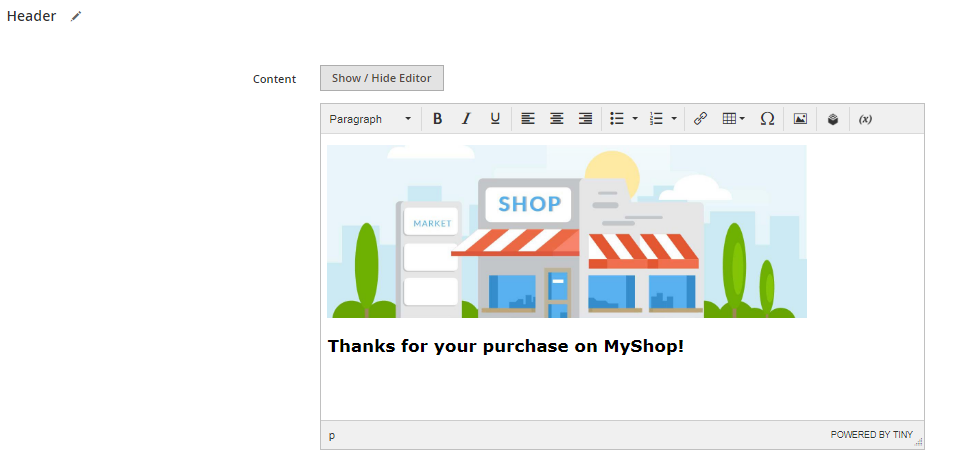
You can easily edit the header of the page adding any kind of information via texts, widgets, variables, images...
The content will be displayed on the top of the order success page.
Content
You first need to choose into how many rows your success page will be divided. You have the choice between:
- 1 row
- 2 rows
- 3 rows
Each row can be separated into:
- 1 column
- 2 columns
- 3 columns
If you select more than 1 column, you'll have the possibility to define the proportion of each one.
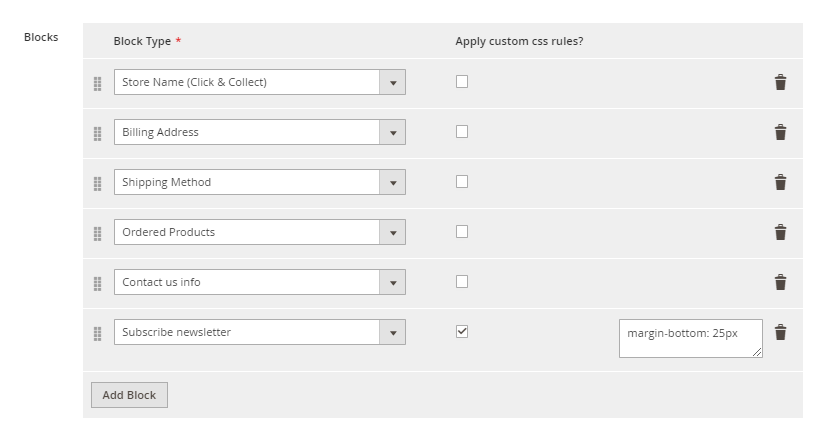
 For each column, you can add one or several blocks:
- Products
Ordered Products - Customer
Subscribe newsletter - Shipping
Shipping Method - Billing
Billing Address - User Defined Block
You can use all the blocks you have defined.
Contact us info - Click & Collect and Pickup@Store
As the extension is compatible with Click & Collect and Pickup@Store, you can use all the blocks available with these extensions.
Store Name - Estimated Delivery Date
The extension is also compatible with Estimated Delivery Date, you'll then be able to display the estimated delivery date and message for the order on your pages.
Message
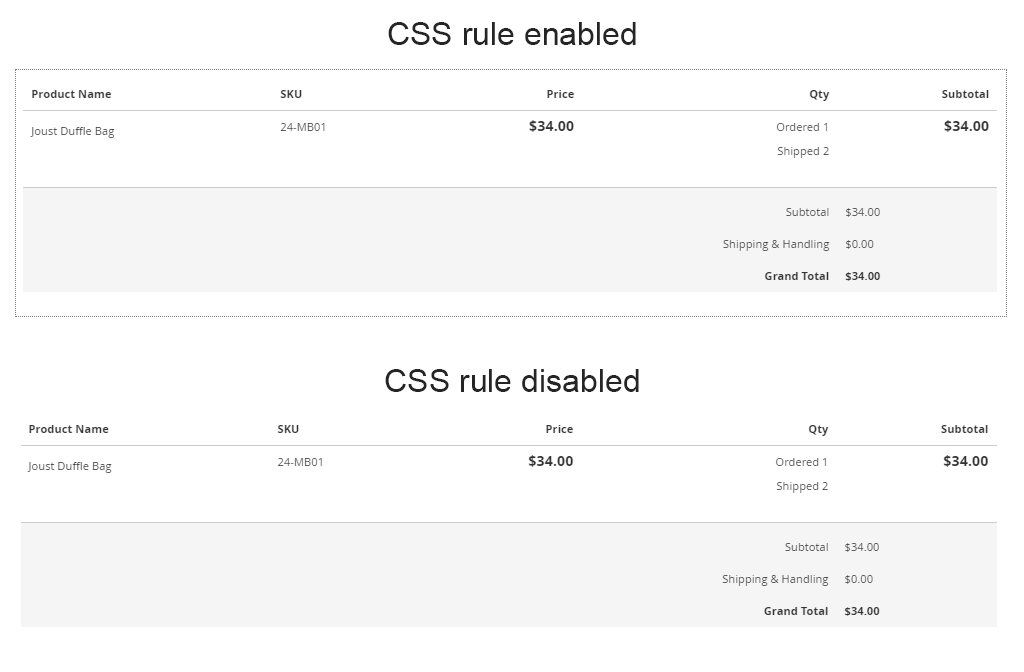
You also have the possibility to use CSS rules for each block. For this, tick the Use Css/Less rules box and fill in the field with a rule:
border: 1px dotted grey
Also, a floating preview box will help you to have a quick look at the page display.
Footer
You also have the possibility to edit the footer of the page adding texts, widgets, variables, images...
The content will be displayed at the bottom of the order success page.
Manage your content
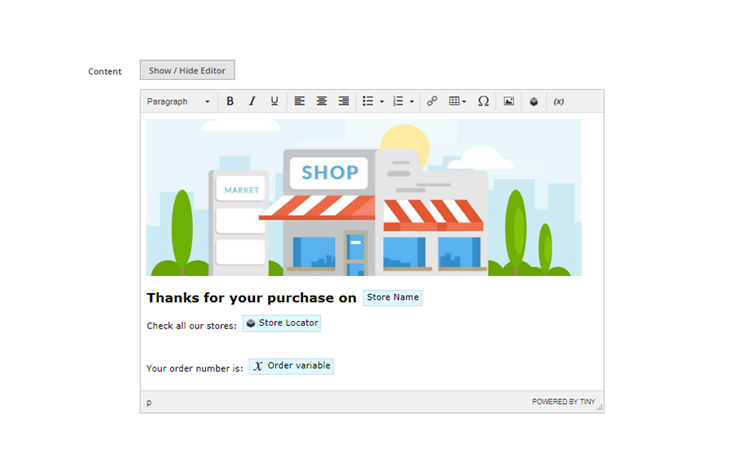
You can manage the content in each one of your order success pages and add images, widgets, variables...
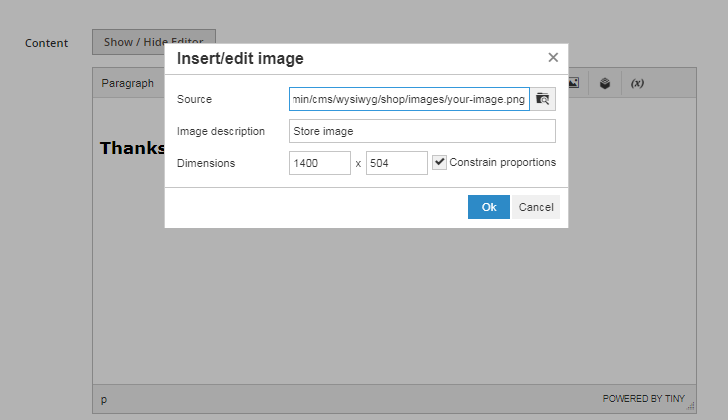
Insert an image
The Improved Success Page extension gives you the opportunity to add images to your order success page.
Click on Insert/ Edit image and select an image.
Finally, click on OK.
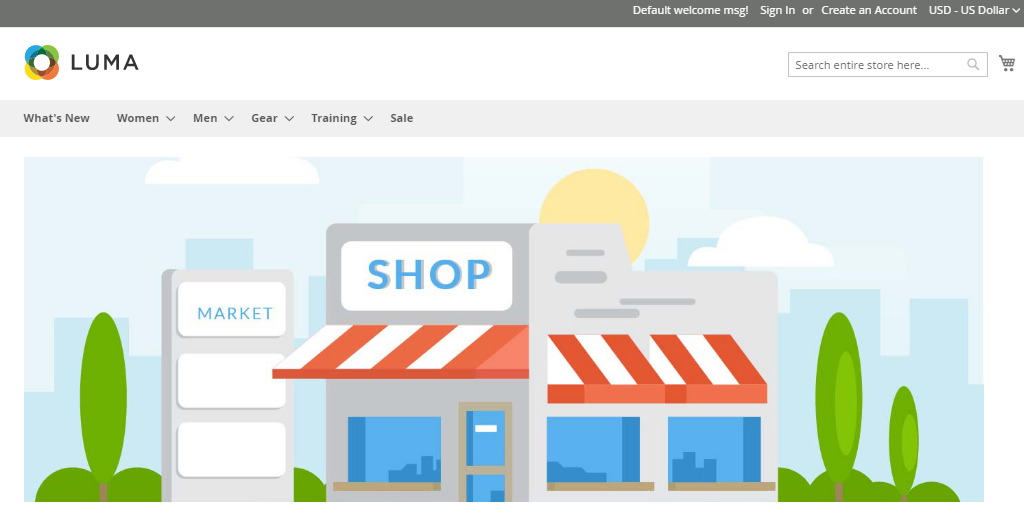
Below is a preview of the front-end display.
Insert a variable
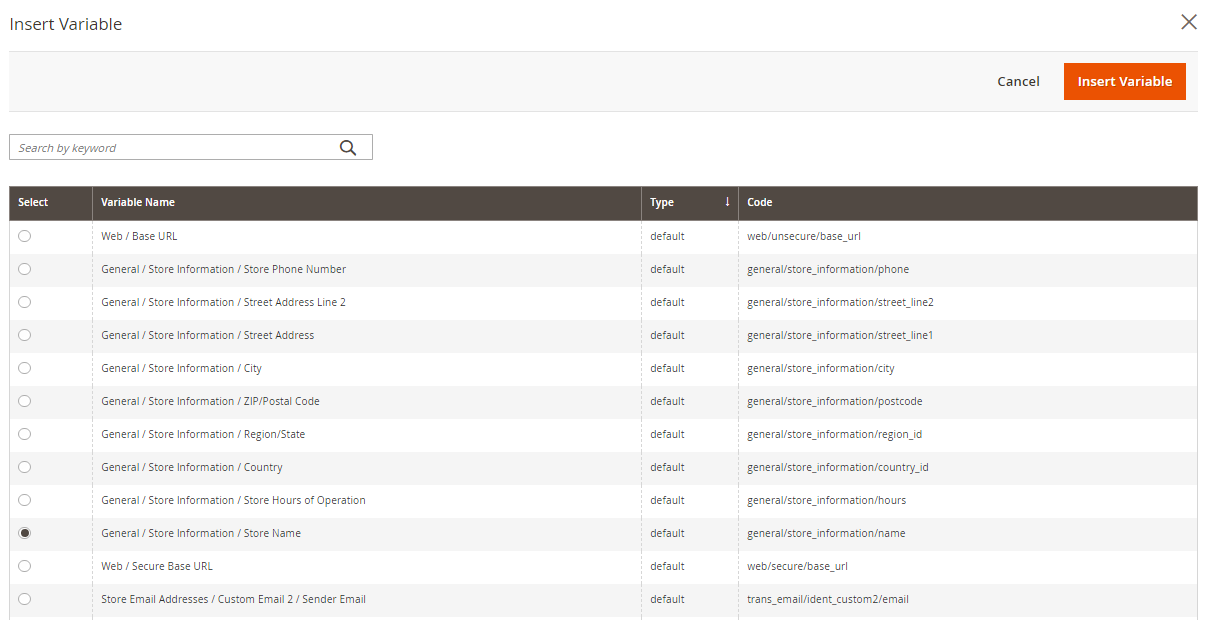
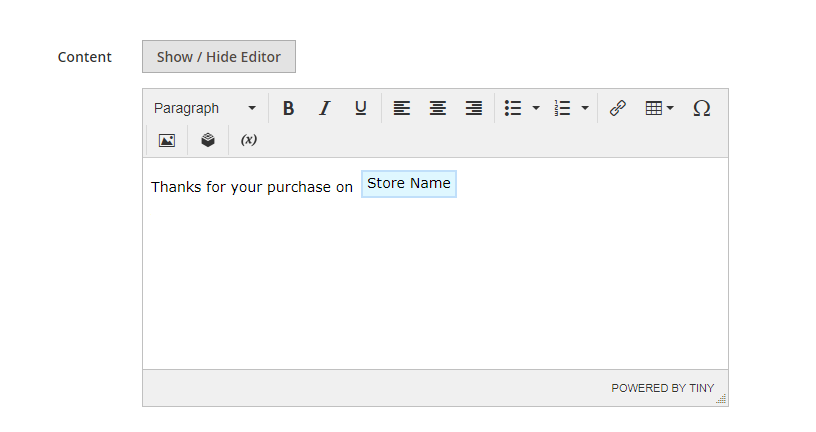
With the Improved Success Page extension, you can add variables to your order success page.
Click on Insert variable and select a variable.
Finally, click on Insert Variable.
Below is a preview of the front-end display.
Insert an order variable
You can also add order variables in your order success pages.
Click on Insert widget and select Order variable as the Widget Type.
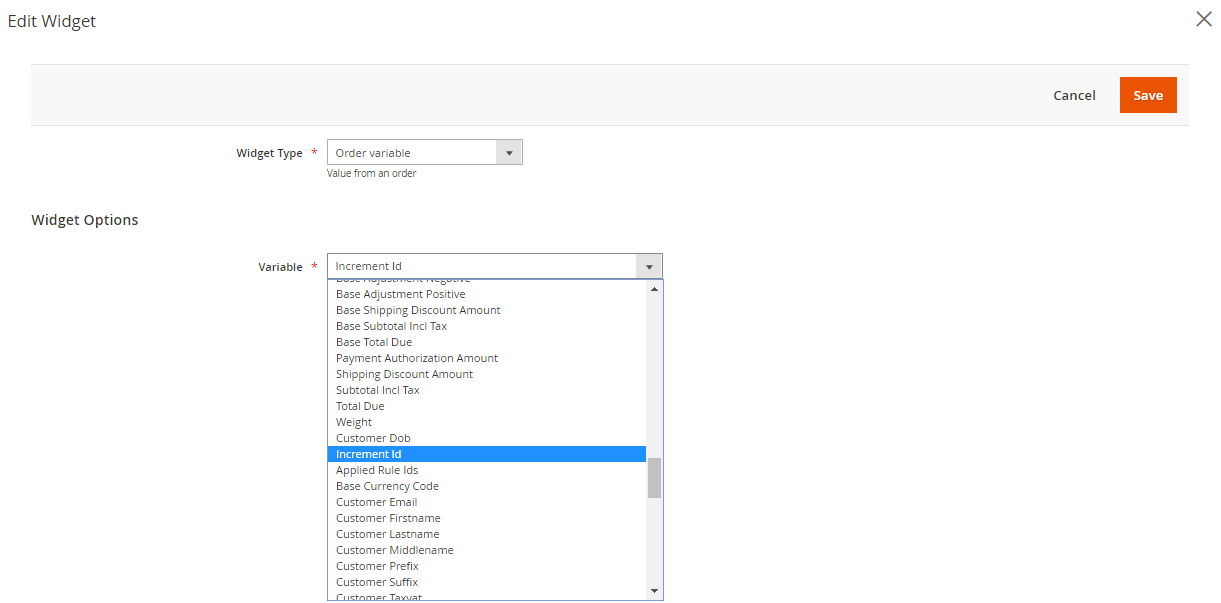 Select the order variable you want to add to your page, for example, the Increment Id.
Finally, click on SAVE.
Below is a preview of the front-end display.
Insert a widget
Improved Success Page allows you to add widgets to your pages.
Click on Insert widget and select a widget, for example: CMS Page Link - Button
Enter a custom text and title for the button and select the CMS Page, for example, the homepage.
Finally, click on Insert Widget.
Below is a preview of the front-end display.
STEP 3: Preview the Order Success Page
So that it is easier for your to test and check the display of your success page without having to pass an order each time, you have the possibility to preview the pages.
From the preview box
You can preview the order success page from:
ContentElementsOrder Success Page
Add the order id in the Preview with field and click on GO .
 This will open a new window and display the preview of the page.
From the order success pages grid
You can preview the order success page from:
ContentElementsOrder Success Page
Choose the page you want to check and from the Action dropdown, select Preview.
 This will open a new window and display the preview of the page.


 Magento 2


