The Buy on Google program
In order to use the Buy on Google extension, you should be aware of some basic knowledge about Google Shopping and data feed management.
What is Buy on Google?
Buy on Google allows merchants to display and sell their products on all Google platforms, offering a fast and secure user experience. The program makes it very easy for customers to place an order thanks to:
- a smooth navigation
- a shareable list
- a universal shopping cart
- instant checkout
How to participate in the Buy on Google program?
Buy on Google is only available in the USA.
To participate in Buy on Google, you’ll need to sell your products directly on Google everywhere people shop: See the participation criteria for Buy on Google US
How to integrate Buy on Google?
Once you have reviewed the participation criteria to ensure your business is eligible for the program, you can start with the integration process.
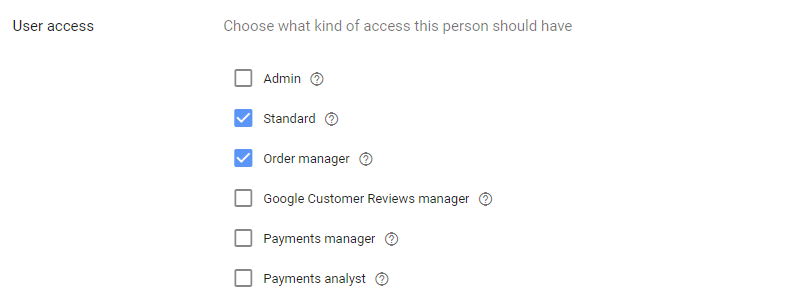
You first need to create a Merchant Center account (See how to create your Google Merchant Account).
Take a look at the documentation of Google for more information.
How to create your Google Merchant Account?
In order to submit your products to Google Shopping, you need to create a Google Merchant Account. Click on the following link for further information on creating an account: https://support.google.com/merchants/answer/188924?hl=en
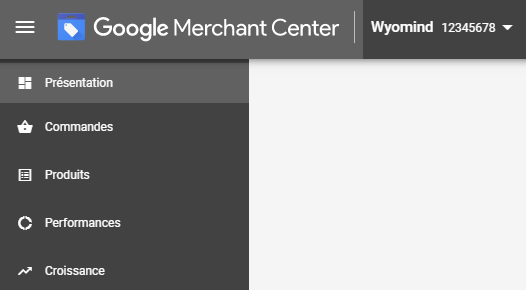
Once account is created, you'll have access to the Google Merchant interface. There you can manage all your product data feeds and plan any daily, weekly, or monthly updating tasks.
How to use the Buy on Google extension?
Configure Buy on Google
You can configure Google Shopping Actions in a general way from:
StoresSettingsConfigurationWyomindBuy on Google
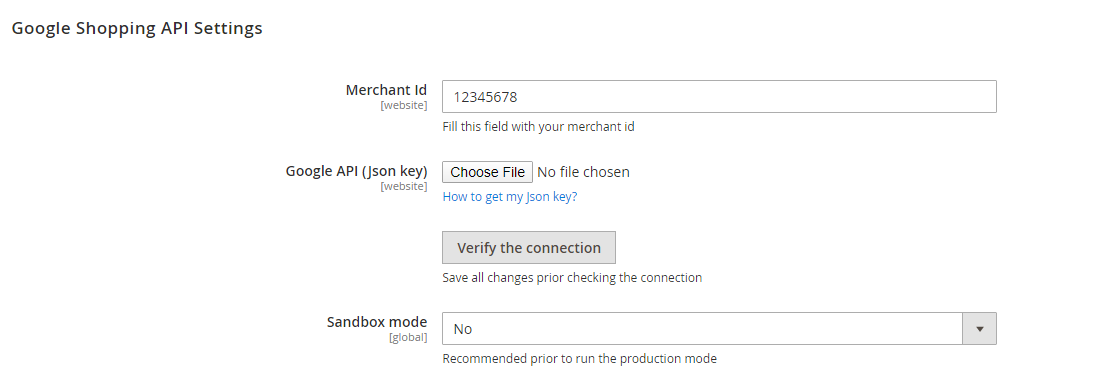
Google Shopping API Settings
It is important to configure the following section to connect your Magento to your Google Shopping account.
- Merchant Id
Add your merchant id in that field.
Check how to find your merchant id. - Google API (Json key)
Merchant Center can create a Google API key for you.
Check the documentation of Google to know how to get your JSON key. - Verify the connection
You can check the connection between your Magento back-office and Google Merchant.
For that, click on Save config. and then click on Verify the connection.
A pop-up will open and notify that the connection succeeded.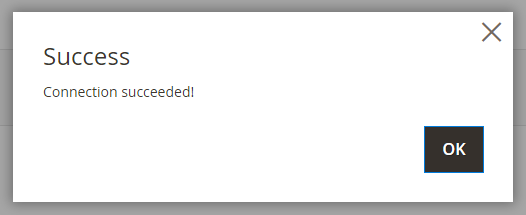
- Sandbox mode
The sandbox mode can be enabled on your staging domain to test your workflow and to make sure everything works as expected.
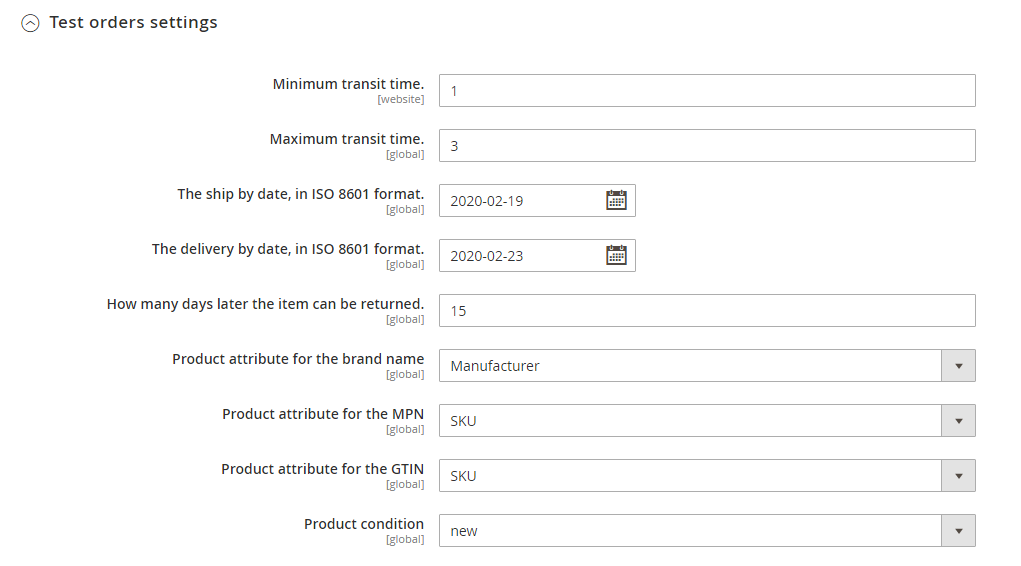
Test orders settings
When the Sandbox mode is enabled, you have the possibility to create test orders. The below settings are made to simulate real orders.
- Minimum transit time
- Maximum transit time
- The ship by date
Here select or fill in the ship by date in ISO 8601 format as below:
2020-02-19 - The delivery by date
Here select or fill in the ship by date in ISO 8601 format as below:
2020-02-23 - How many days later the item can be returned
15 - Product attribute for the brand name
Map this attribute to your attribute for the brand. - Product attribute for the MPN
Map this attribute to your attribute for the MPN. - Product attribute for the GTIN
Map this attribute to your attribute for the GTIN. - Product condition
Define the condition for the products.
Order import settings
The extension allows you to import all your previous Google Merchant Center orders into Magento.
- Import all orders in bulk
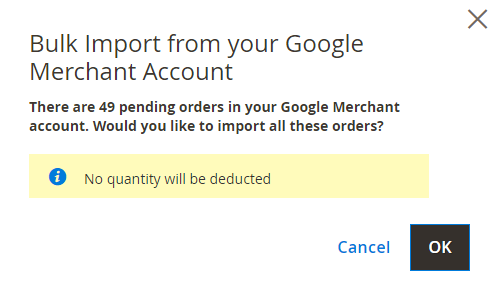
You can enable the bulk import. In that case, you will need to confirm if you want to import all the orders of your Google account from:
SalesOrders - Batch size
Define the number of imported orders when running the import manually.
10 - Customer group
You have the possibility to choose to which customer group the imported customers will be assigned.
Google Shopping
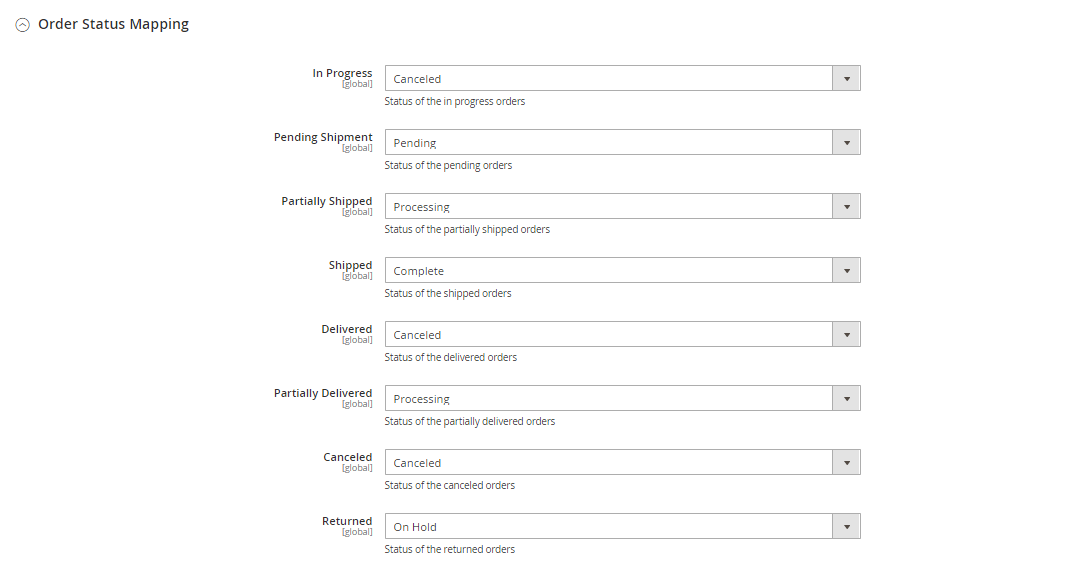
Order Status Mapping
- In Progress
- Pending Shipment
- Partially Shipped
- Shipped
- Delivered
- Partially Delivered
- Canceled
- Returned
US Orders
- Store view
Choose the store view to which the US orders will be associated. The store view must use the USD currency. - Stock Source
The orders will be deducted from the source
Additional tools
The Buy on Google extension allows you to import orders manually from Google Merchant Center into your Magento back-office.
Add the Google Shopping Order Id in the Import one order from Google Merchant Center field and click on Import now.
 If you are importing several orders, the Google Shopping order Ids must be separated with commas.
Cron job reporting
You have the possibility to enable cron job reporting. When enabled, an email will be sent when new orders are imported or if any error arises.
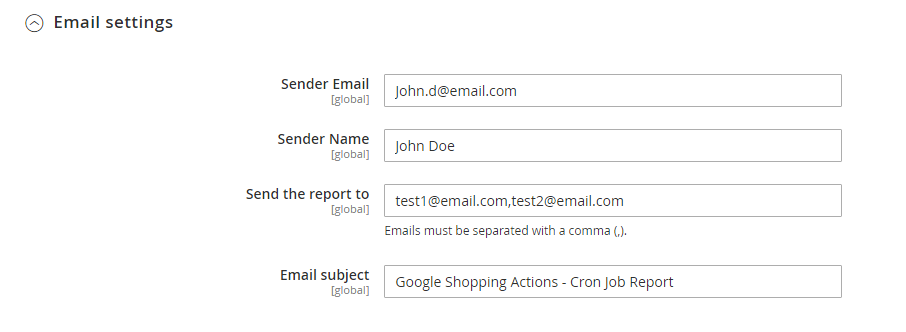
Email settings
- Sender Email
The email of the sender - Sender Name
The name of the sender - Send the report to
The email(s) to which you want the report to be sent.
Note that the emails must be separated with a comma. - Email subject
The subject of the email.
Import your orders
The extension gives you the possibility to import your orders into your Magento back-office using different methods.
Manually
To import orders manually from Google Merchant Center into your Magento back-office, you can simply add the Google Shopping Order Id in the Import one order from Google Merchant Center field and click on Import now from:
StoresSettingsConfigurationWyomindBuy on GoogleAdditionnal Tools
In bulk
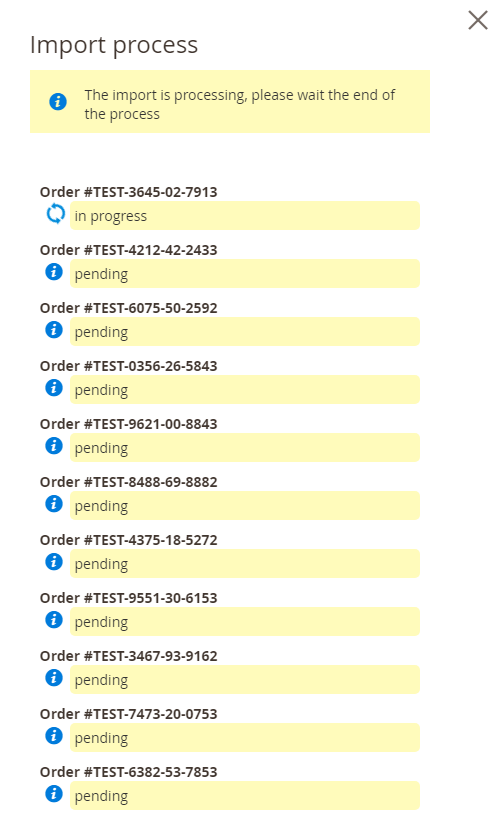
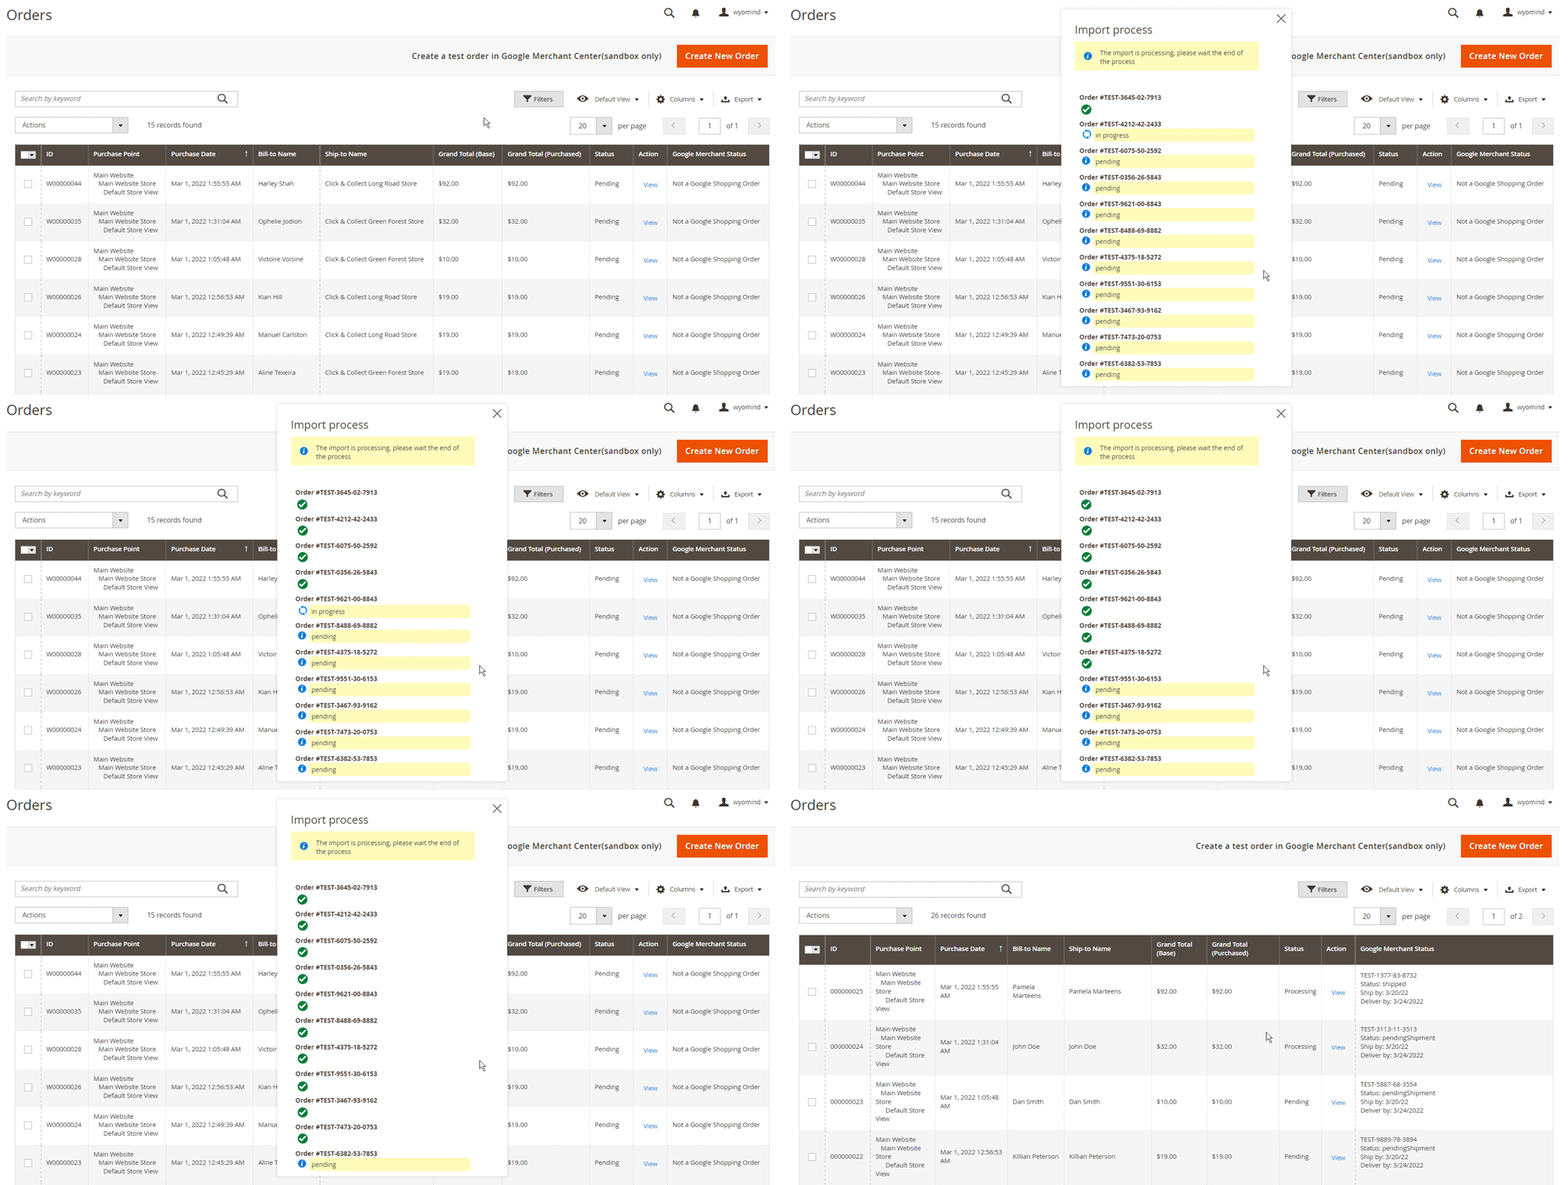
You can import all the orders into your Magento back-office in bulk. For that, you first need to enable the Import all orders in bulk option from:
StoresSettingsConfigurationWyomindBuy on GoogleOrder Import Settings
After that, you can go to:
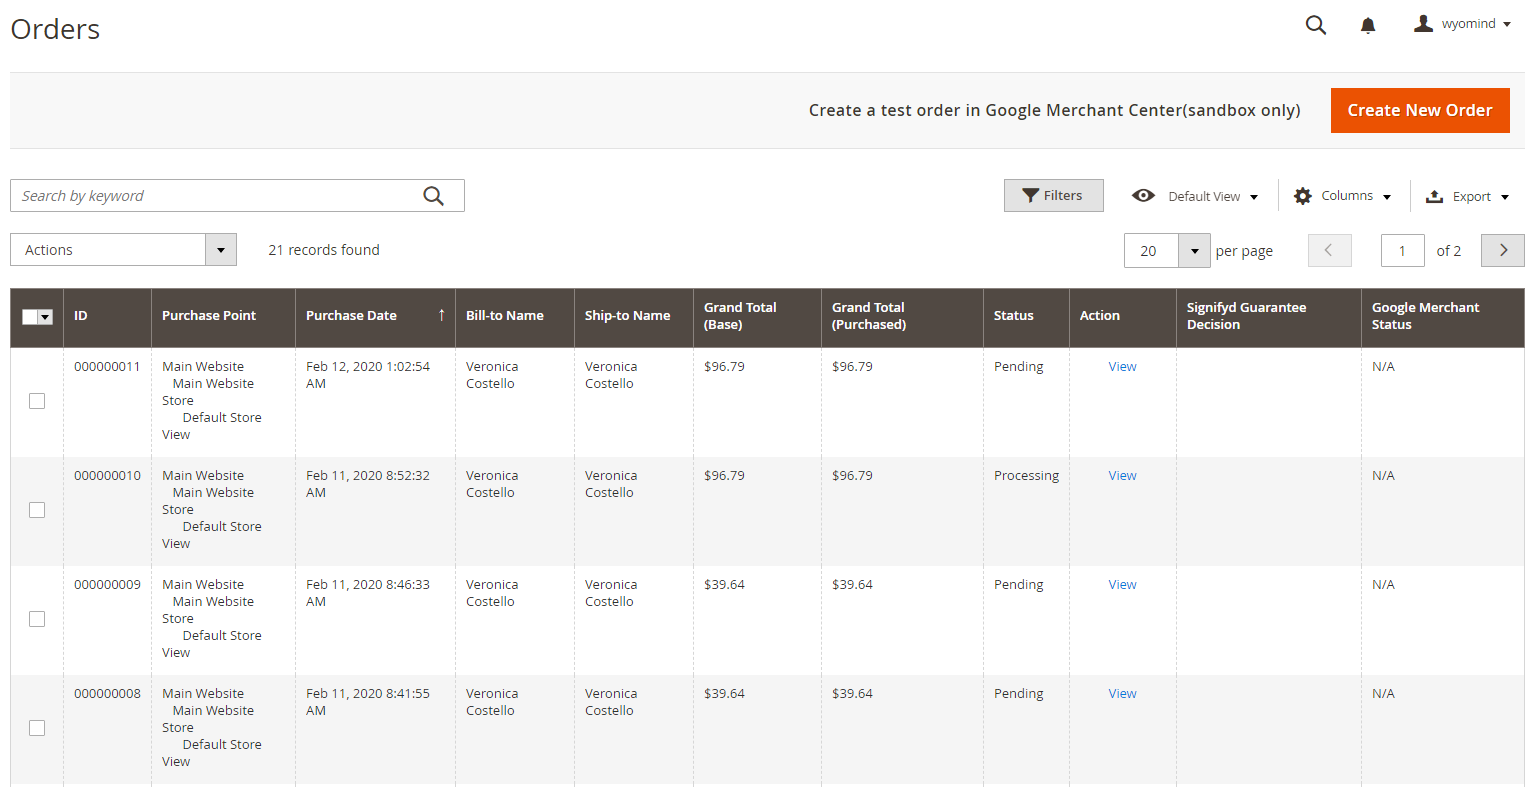
SalesOrders
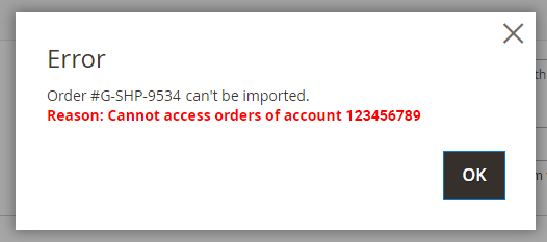
A pop-up will open. You will need to confirm if you want to import all the orders of your Google account.
Via the command lines
The below command lines can be used to import orders in bulk.
To import your orders:
wyomind:googleshoppingaction:import [options]You can use the below options:
- -o=ORDER-IDS or --order-ids=ORDER-IDS
You need to use Google order ids.
To leave empty for all pending (not acknowledged) orders.
Multiple values are allowed. - -f or --force-import
To delete the order if it already exists.
Not suitable in production mode. - -d or --deduct-stock
To deduct the qty from the source.
To initialize your orders:
wyomind:googleshoppingaction:initialize [options]You can use the below option:
- -f or --force-import
To delete the order if it already exists.
Not suitable in production mode.
Via the cron task
Your orders will be automatically imported via the cron task. For that, you need to make sure that the Magento cron task is enabled on your server and configured correctly.
The Buy on Google extension adds the below task:
- googleshoppingaction_importorders * * * * *
Manage your orders
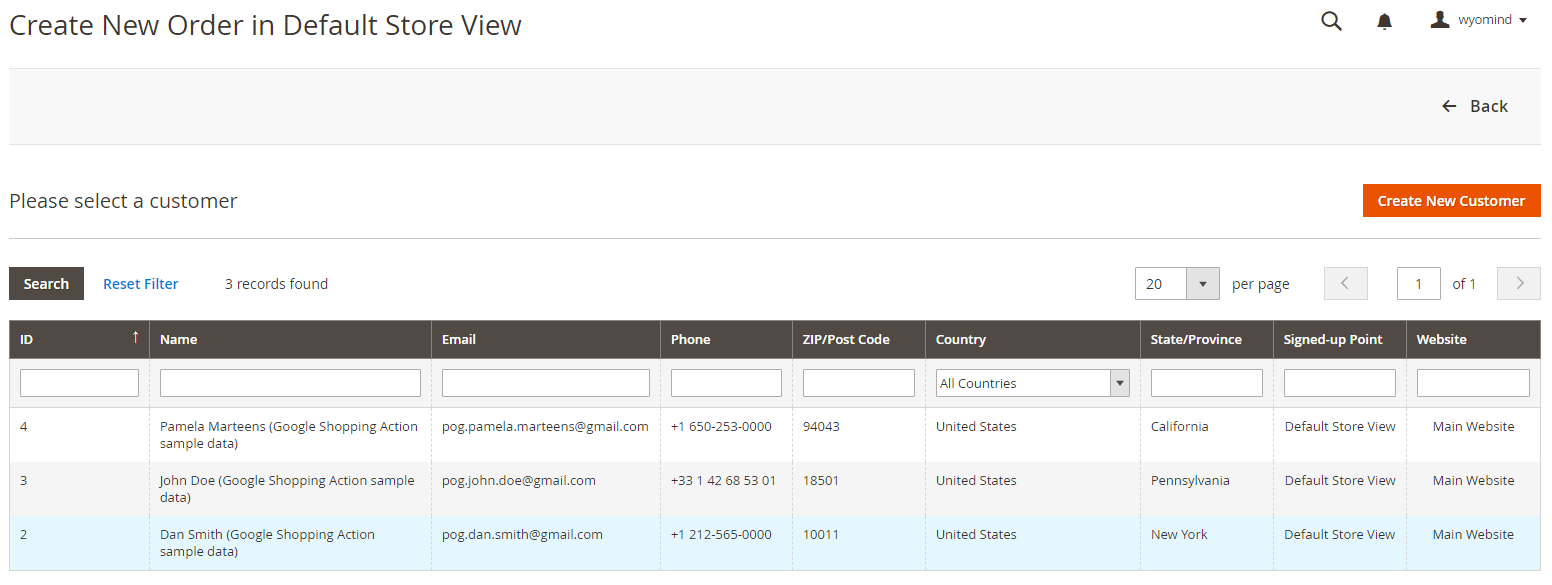
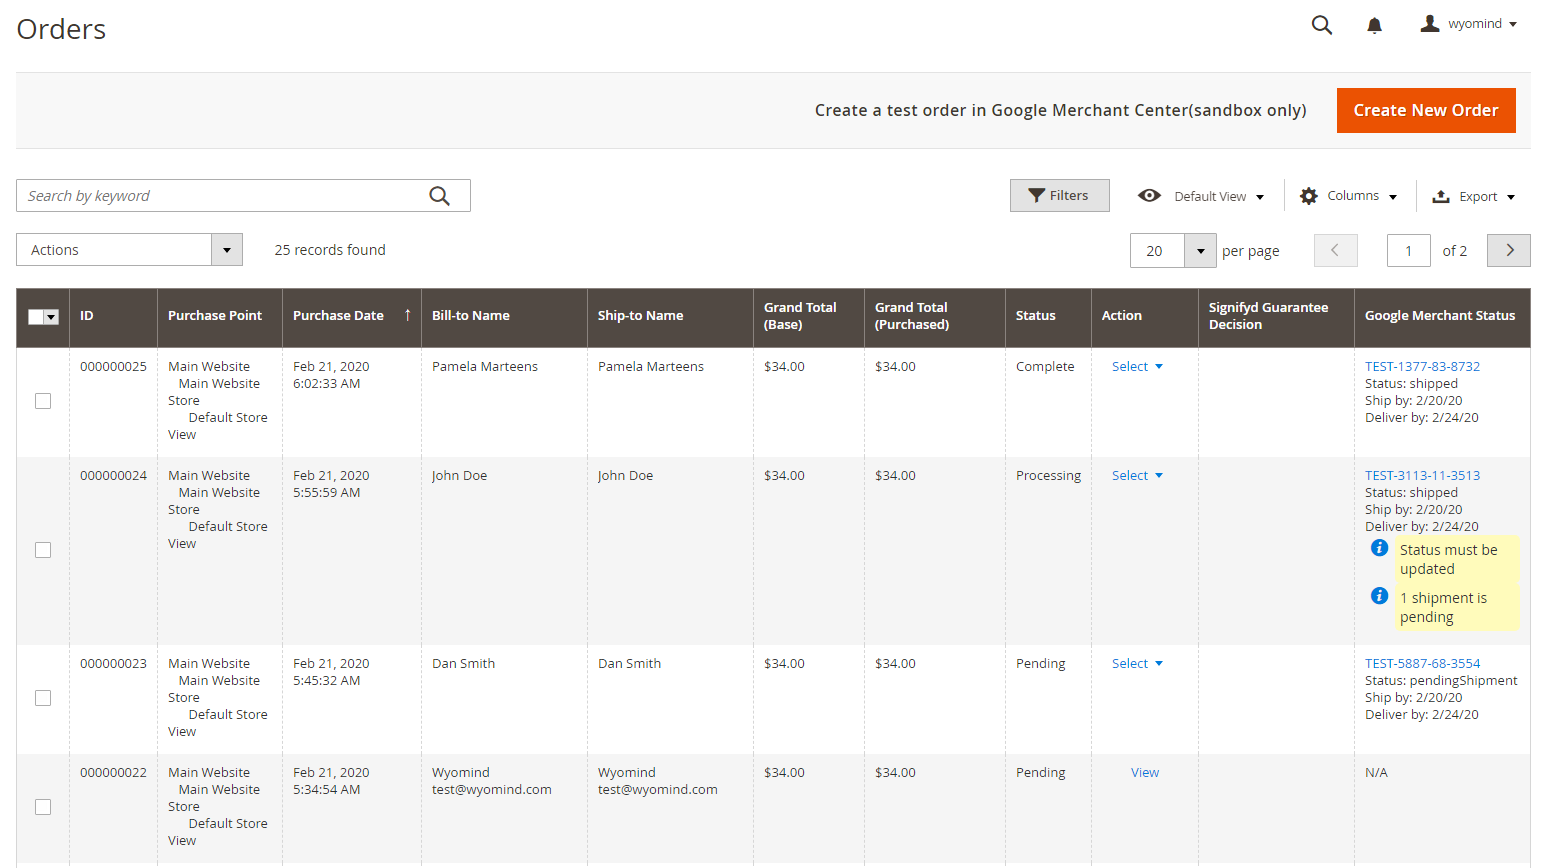
You have the possibility to create test orders from your Magento back-office. They will be synchronized with your Google Merchant account.
Create test orders
When creating test orders, you can select one of the test customers.
Synchronize the orders
Synchronize your shipments with Google Merchant Center
Your shipments will be automatically synchronized with your Google Merchant Center account when a shipment is created from your Magento back-office.
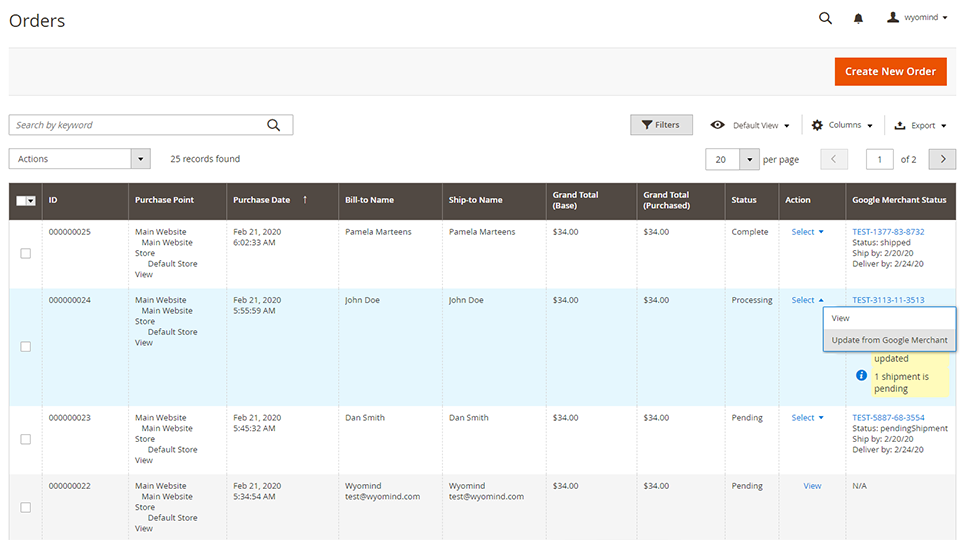
You can also synchronize your shipments via the Update action of the orders grid or via the cron task.
Via the Update action
In the case where the shipments have been created from Google Merchant Center, you can synchronize them by selecting Update from Google Merchant from the Action dropdown in the orders grid.
Via the cron task
Your shipments will be automatically exported via the cron task in the case where the orders are imported via a third-party tool.
The Buy on Google extension adds the below task:
- googleshoppingaction_exportshipments * * * * *


 Magento 2

